When you bring a newborn home, sterilizing baby bottles quickly becomes part of your routine. There are several methods to choose from, each with clear steps to keep feeding equipment safe and hygienic. Understanding your options makes it easier to protect your baby’s health from day one.
Quick Answer
- Always sterilize bottles before their first use and after any illness.
- The main methods are electric steam sterilizers, microwave sterilizers, boiling water, and sterilizing solution.
- Clean bottles thoroughly with soap and water before sterilizing — sterilization alone won’t remove milk residue.
- Daily sterilizing is especially important for babies under 2 months, preemies, or infants with weakened immune systems.
[Products Worth Considering]
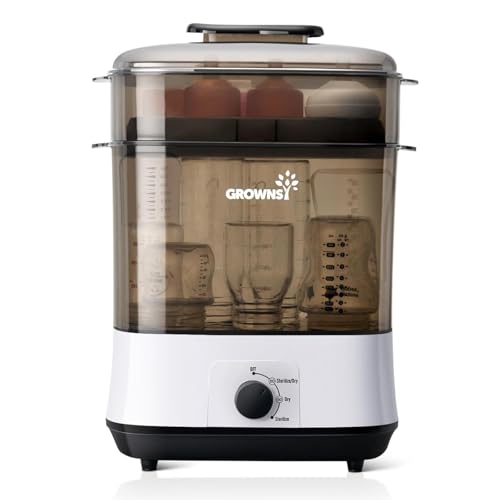
𝟗𝟗.𝟗𝟗% 𝐄𝐟𝐟𝐞𝐜𝐭𝐢𝐯𝐞 𝐒𝐭𝐞𝐚𝐦 𝐒𝐭𝐞𝐫𝐢𝐥𝐢𝐳𝐚𝐭𝐢𝐨𝐧- GROWNSY Bottle Sterilizer and Dryer utilizes 360° high-temperature natural steam to sterilize and dry baby bottles, minimizing germ growth and giving you peace of mind!

𝟭𝟬𝟬% 𝗻𝗼𝗻-𝘁𝗼𝘅𝗶𝗰 𝗰𝗼𝗮𝘁𝗶𝗻𝗴: The first brand to implement ceramic-coated plates in sterilizers. Our pioneer CeraCare ceramic coating is 100% non-toxic, also makes descaling limesacles and mineral build-up a breeze. One less thing to stress about for your newborn's feeding hygiene.

Smarter Design, Not Smaller Capacity: Stop Choosing Between Capacity and Counter Space. We reimagined the interior to be 20% more space-efficient than other bulky old models. Grownsy SteriDry Pro compact sterilizer dryer fits all your daily bottles and feeding supplies accessories—and works 30% faster—letting you save more precious moments with your little one instead of waiting around.
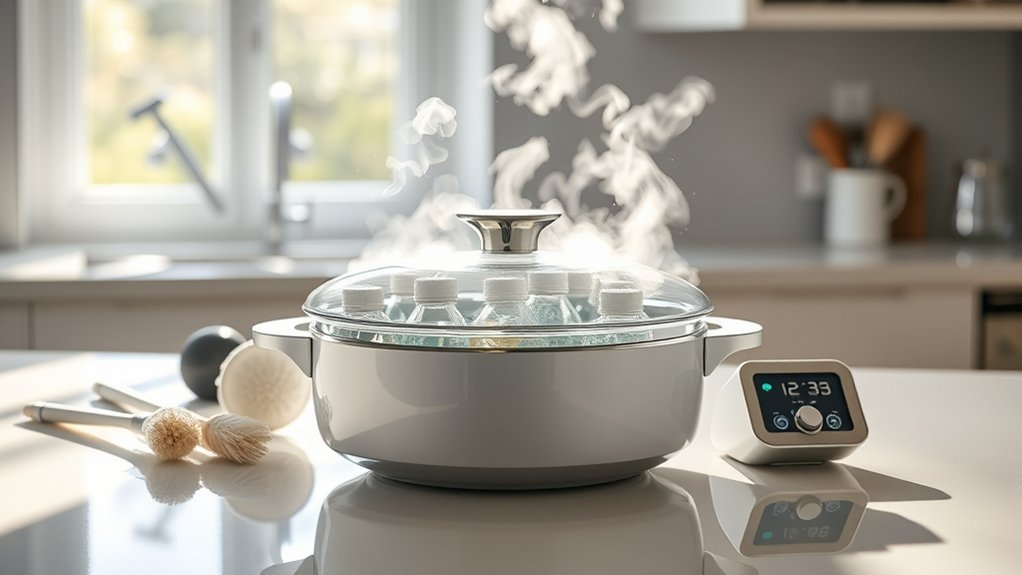
Understanding the Importance of Sterilization
Sterilizing bottles removes harmful bacteria and viruses that can pose real health risks to your baby. The benefits go beyond preventing illness. Regular sterilization also keeps your baby’s immune system from being hit with an unnecessary load of contaminants.
When bottles aren’t properly sterilized, the risk of contamination rises sharply, exposing your child to potentially dangerous pathogens. This matters most for newborns, whose immune systems are still developing.
Sterilizing regularly creates a safe feeding environment and supports your baby’s overall health. By making it a habit early, you give each feeding a hygienic foundation.
Types of Bottle Sterilizers
There are two main types of purpose-built sterilizers: electric models and microwave options.
Electric sterilizers use steam or dry heat for thorough sterilization, while microwave options rely on steam generated inside the microwave.
Knowing the difference helps you pick the right method for your home and schedule.
Electric Bottle Sterilizers
Electric bottle sterilizers offer a convenient way to make sure baby bottles are free from harmful bacteria.
These devices use steam heat to eliminate 99.9% of germs within minutes, making them a reliable choice for busy parents.
One of the main advantages is ease of use: add water, load the bottles, and start the machine.
When comparing brands, look at capacity, cycle speed, and safety features. User-friendly designs with automatic shut-off and BPA-free materials are worth prioritizing.
A quality electric sterilizer saves time and takes one more thing off your mental checklist, especially in those demanding early weeks.
Microwave Sterilization Methods
Microwave sterilization is quick and effective, using steam generated from water in a microwave-safe container. It’s a popular choice for parents who want speed without buying a large countertop appliance.
| Method | Description |
|---|---|
| Microwave Sterilizer | Special containers designed for sterilization |
| Bowl and Water | Simple method using a bowl filled with water |
| Steam Bags | Pre-packaged bags that generate steam |
| DIY Microwave Method | Place bottles in a microwave-safe dish with water |
| Timing and Power Level | Adjust according to manufacturer’s instructions |
Preparing Bottles for Sterilization
Before you start sterilizing, gather your supplies, clean each bottle thoroughly, and check for any damage. Skipping any of these steps can reduce how effective the sterilization is.
Gather Necessary Supplies
Having everything ready before you begin makes the process smoother. Here’s a quick reference:
| Supplies | Purpose |
|---|---|
| Sterilizer | The main device for sterilization |
| Bottles | Items to be sterilized |
| Tongs | For safe handling of hot bottles |
| Clean Cloth | To dry and store sanitized bottles |
Clean Before Sterilizing
Cleaning bottles thoroughly is a required step before sterilization. Any leftover milk residue can block the process and let bacteria survive.
Start by rinsing bottles with warm soapy water right after use. A bottle brush helps with stubborn buildup. Clean all components, including nipples and caps.
After washing, rinse the bottles under running water to remove any soap residue.
Wipe down your kitchen counters and sink area with a suitable disinfectant before you start. Once your bottles are clean and surfaces are sanitized, you’re ready to sterilize.
Inspect for Damage
Check each bottle carefully before sterilizing. Look for cracks, chips, or signs of wear that could cause a bottle to break or leak during the process, which can lead to contamination.
Pay close attention to rims and bases, as these spots tend to wear faster. If you find any defects, discard those bottles and use replacements.
Using Electric Sterilizers
Electric sterilizers are one of the most efficient ways to keep baby bottles free from harmful bacteria.
These devices use steam to eliminate germs effectively. Simply fill the sterilizer with water, place the bottles inside, and turn it on. In just a few minutes, you’ll have sanitized bottles ready for use.
The benefits are clear: protection against infection and a hygienic feeding setup that requires minimal effort. Electric sterilizers are especially useful for busy parents, and knowing your baby’s bottles are properly cleaned brings genuine peace of mind during those critical early months.
Utilizing Microwave Sterilizers
Microwave sterilizers are another practical option for time-pressed parents.
They work by using steam from water to eliminate harmful bacteria. To use one, fill the sterilizer with the recommended amount of water, place the bottles inside, and close the lid securely.
Make sure your sterilizer is designed for microwave use. Follow the manufacturer’s instructions for timing, which is typically a few minutes depending on the wattage of your microwave.
After the cycle ends, let the sterilizer cool before opening. Steam can cause burns, so don’t rush it. This method is fast, effective, and leaves bottles germ-free.
[Products Worth Considering]

MICROWAVE STEAM STERILIZER. Steam heat quickly sterilizes baby bottles, nipples, bottle parts, and more.
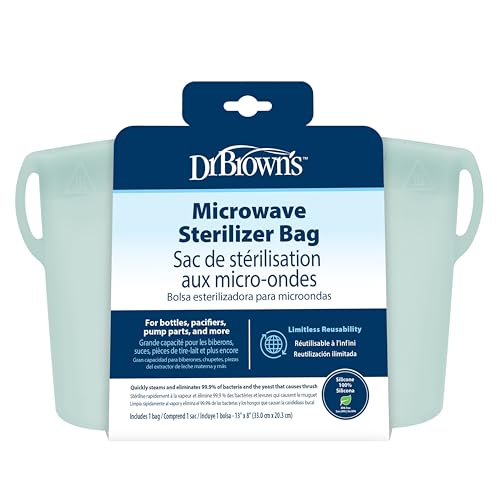
REUSABLE SILICONE MICROWAVE STERILIZER BAG. Quickly sterilizes baby bottles and parts, breast pump parts, pacifiers, teethers, and more
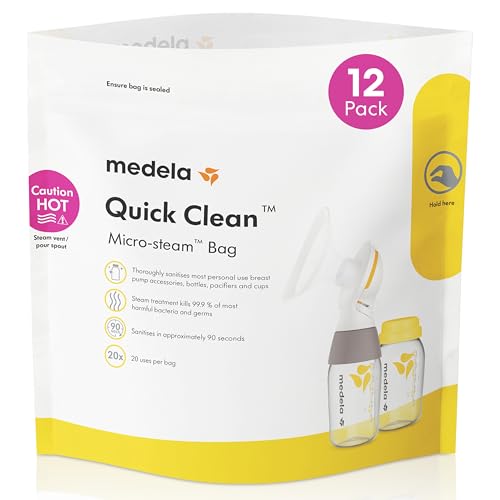
Sanitize in Minutes: As part of the Quick Clean family of products, these bags are designed to simplify cleaning at home and on the go, using your microwave to disinfect breast pump parts and accessories in just 3 minutes
Exploring the Boiling Water Method
Boiling water is a straightforward, no-equipment-needed approach to sterilizing baby bottles.
Start by cleaning the bottles thoroughly with soap and water. Then place them in a large pot and make sure they’re fully submerged. Bring the water to a rolling boil and keep it there for at least five minutes.
Keep an eye on timing, since boiling too long can damage some bottles. Once done, carefully remove the bottles with tongs and let them air dry on a clean surface.
This method reliably eliminates harmful germs and is a solid fallback when other equipment isn’t available.
Using a Sterilizing Solution
If you don’t have access to heat or electricity, a sterilizing solution is a safe and CDC-endorsed alternative. This method is popular for travel and is useful during power outages.
There are two main approaches:
Bleach solution: The CDC recommends mixing a specific ratio of unscented household bleach with water. Submerge the clean, disassembled bottle parts completely, making sure no air bubbles are trapped inside. Soak for at least two minutes, then remove with clean tongs and allow to air dry completely. Do not rinse after soaking, as any remaining bleach breaks down quickly as it dries and is safe for your baby. For the exact bleach-to-water ratio, follow the CDC’s guidance on bottle hygiene.
Sterilizing tablets: These are available at most baby supply stores and dissolve in cold water to create a sterilizing solution. Follow the manufacturer’s instructions for concentration and soak time, which is typically 15 to 30 minutes. One batch of solution can usually be used for up to 24 hours, making it convenient when sterilizing multiple batches in a day.
Maintaining Your Sterilizer
Regular upkeep keeps your sterilizer working properly and extends its life.
Start by unplugging the unit and letting it cool down. Check the water reservoir and heating elements for mineral buildup. A mixture of vinegar and water works well for cleaning these areas and helps dissolve residue. Rinse thoroughly and make sure no cleaning agents remain inside.
Check seals and gaskets for wear, replacing them if needed to keep the unit airtight. Every so often, run a sterilization cycle without bottles to clear any internal buildup.
Keep the exterior clean and dry to prevent mold and bacteria growth. Consistent maintenance ensures your device stays at peak performance and keeps bottles safe.
When to Sterilize Bottles
Knowing when to sterilize is just as important as knowing how.
Always sterilize bottles before their first use to eliminate any bacteria from manufacturing or storage. After that, the CDC recommends daily sanitizing if your baby is under 2 months old, was born prematurely, or has a weakened immune system. For older, healthy babies with access to clean water, thorough washing after each use may be sufficient, though regular sterilizing is still a good habit.
Sterilize whenever your baby is ill or recovering from illness. Watch for signs that a cleaning alone isn’t cutting it, such as milk residue, discoloration, or unusual odors on the bottles. If you’re using second-hand bottles, sterilize them before use.
For full guidance on recommended practices, see the CDC’s guidance on bottle hygiene.
Frequently Asked Questions
Can I Sterilize Bottles Without a Sterilizer?
Yes, you can sterilize bottles without a sterilizer. Use boiling water to immerse them for five minutes or try the microwave method by placing them in a microwave-safe container with water for a few minutes.
How Often Should I Replace My Sterilizer?
You should replace your sterilizer every 2-3 years or sooner if you notice signs of wear, like cracks or malfunctioning parts. Regularly check for these replacement signs to guarantee effective sterilization and safety.
Are There Eco-Friendly Sterilization Options Available?
Yes, there are eco-friendly sterilization options available. Consider using natural alternatives like vinegar or baking soda. These methods clean effectively without harsh chemicals, making them a solid choice for environmentally conscious parents.
Can I Sterilize Other Baby Items in the Same Device?
Yes, you can sterilize other baby items in the same device, provided they’re compatible. Check that items like pacifiers or teething toys meet the manufacturer’s guidelines for the sterilization method you’re using.
What Should I Do if My Sterilizer Breaks?
If your sterilizer breaks, start with the troubleshooting steps in the manual. From there, contact the manufacturer or a repair service. In the meantime, the boiling water or sterilizing solution methods will keep you covered.
Conclusion
Sterilizing baby bottles is one of the simplest and most effective things you can do for your newborn’s health. Whether you use an electric sterilizer, microwave method, boiling water, or a sterilizing solution, the goal is the same: giving your baby a clean, safe feeding environment.
Sterilize regularly in the early months, especially if your baby is under 2 months old or was born prematurely. As your child grows and their immune system strengthens, you can ease up on frequency. Above all, keep cleanliness a consistent priority to protect your little one’s health at every stage.
[Products Worth Considering]

Campfire & Boil-Safe 18/8 304 Stainless Steel: Boils water over campfire, grill, or stove for purification, coffee, or tea; gold-standard 18/8 304 stainless steel - durable, safe, corrosion-resistant; not vacuum-insulated so it won’t crack or peel under direct heat for survival versatility

Campfire & Boil-Safe 18/8 304 Stainless Steel: Boils water over campfire, grill, or stove for purification, coffee, or tea; gold-standard 18/8 304 stainless steel - durable, safe, corrosion-resistant; not vacuum-insulated so it won’t crack or peel under direct heat for survival versatility

Campfire & Boil-Safe 18/8 304 Stainless Steel: Boils water over campfire, grill, or stove for purification, coffee, or tea; gold-standard 18/8 304 stainless steel - durable, safe, corrosion-resistant; not vacuum-insulated so it won’t crack or peel under direct heat for survival versatility
