
Clean the diaper area with warm water or fragrance-free wipes, then pat it completely dry before applying diaper rash cream. Use a pea-sized amount for a small red spot, or spread a thin, even layer over all irritated skin, including folds and creases. Do not rub hard. Put on a fresh diaper right away, reapply after each change, and use cream overnight when needed. If the rash worsens, spreads, blisters, bleeds, or lasts three days, call your child’s doctor for guidance.
Quick Answer
To apply diaper rash cream, clean the diaper area, pat the skin fully dry, then gently spread a thin, even layer over red or irritated skin. Cover folds and creases, avoid rubbing hard, and reapply after every diaper change until the rash improves.
Key Takeaways
- Diaper rash cream works best on skin that is clean and completely dry.
- Use a pea-sized amount for small spots and a thin, even layer for wider irritation.
- Cover all red areas, including skin folds, but do not rub the cream in hard.
- Reapply after each diaper change and before longer stretches, such as overnight.
- Call a doctor if the rash lasts more than three days, looks infected, or causes strong discomfort.
At a Glance
| Time Required | 2 to 5 minutes per diaper change |
| Difficulty | Easy |
| Tools Needed | Warm water, fragrance-free wipes or soft cloth, clean towel, diaper rash cream, fresh diaper |
| Cost | Usually low; depends on the cream brand and tube size |
What Diaper Rash Cream Does
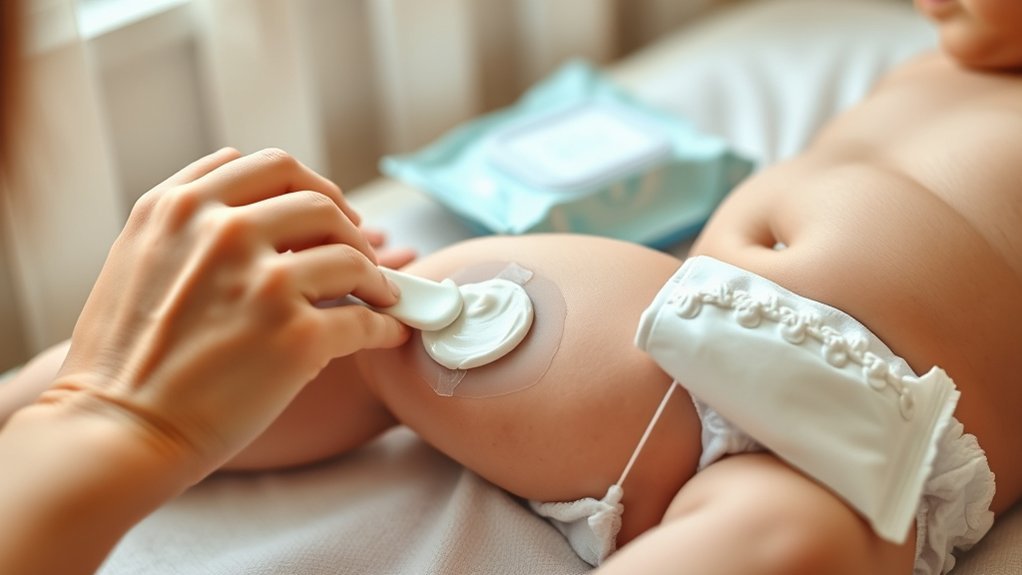
Diaper rash cream forms a protective barrier on your baby’s skin. That barrier helps shield the diaper area from moisture, stool, urine, and friction, which are common triggers for redness and discomfort.
You use diaper rash cream to calm irritated skin, reduce rubbing, and support normal skin recovery. Many barrier creams include zinc oxide or petrolatum-based ingredients, which help coat the skin and protect it while the rash improves.
Diaper rash cream works like a moisture shield. It does not need to disappear into the skin to be effective; it should leave a light protective layer behind.
When you’re applying the cream, spread it gently so it can block moisture and stay in place during diaper wear. This protective barrier can help prevent diaper rash, especially during long stretches, like overnight, when skin faces more exposure.
For best results, place the cream on skin that’s clean and dry, because damp skin can trap moisture under the cream and make irritation worse.
Used regularly, diaper rash cream gives you a practical, reliable way to protect your baby’s comfort and preserve their skin’s natural resilience without adding extra stress.
Clean and Dry the Diaper Area
Start by gently cleansing the diaper area with warm water and fragrance-free wipes to remove urine, stool, and other irritants.
Pat the skin dry with a soft cloth instead of rubbing, and pay close attention to skin folds and creases.
Make sure the area is completely dry before you apply diaper rash cream. If you have time, let the skin air dry briefly before adding cream.
Gentle Cleansing First
Before you apply diaper rash cream, gently clean the diaper area with warm water and a mild, fragrance-free cleanser or alcohol-free wipes to remove urine or stool that may irritate the skin.
This gentle cleansing helps you start with clean skin and lowers the chance of ongoing irritation. If you need wipes, choose hypoallergenic wipes that are alcohol-free, especially for sensitive skin.
After cleansing, pat dry with a soft, clean towel so moisture doesn’t linger. Then let the skin air dry for a few moments before you apply diaper rash cream.
This small pause helps protect the skin barrier and supports comfort. Check the diaper area regularly for signs of irritation or rash, so you can respond early and keep care simple, steady, and effective.
Pat, Don’t Rub
After cleansing, pat the diaper area dry with a soft, clean cloth instead of rubbing, since rubbing can worsen irritation and discomfort.
You should gently clean with warm water and fragrance-free wipes, then pat, don’t rub, so your baby’s skin stays calm.
Make sure the diaper area is completely dry before you move on, especially in skin folds and creases where moisture can linger and trigger rash.
A clean, dry surface helps promote healing and gives diaper rash cream the best chance to work.
If you can, pause for a few moments after drying to reduce leftover moisture.
This simple routine supports comfort, protects delicate skin, and helps prevent diaper rash.
Then apply a thin layer of cream where needed, following your care plan.
Let Skin Air Dry
Once you’ve patted the area dry, let the skin air dry for a few minutes before applying diaper rash cream.
After you cleanse with warm water and fragrance-free wipes, check that the clean skin feels cool and dry. Use a gentle pat with a soft cloth, then allow the area to air dry fully so moisture does not build up.
Pay close attention to skin folds and creases, where dampness lingers and irritation starts. This brief pause helps you apply diaper cream to skin that’s ready, calm, and less vulnerable.
Frequent air drying during diaper changes can prevent diaper rash and promote skin health without adding extra steps. You’re not waiting for the sake of it; you’re creating a drier, safer surface that supports comfort and freedom for your baby.
Pro Tip: If the skin is very red, give your baby a short diaper-free break on a washable towel before applying cream. A little air time can reduce dampness and friction.
How Much Diaper Rash Cream to Use?
Use enough diaper rash cream to cover the irritated skin without smothering it. For a small red spot, start with a pea-sized amount. For a larger patch, spread a thin, even layer over the full irritated area, including creases and folds.
When you apply diaper rash cream, make sure the skin is clean and dry first. This helps the cream form a protective barrier on delicate skin. Avoid using a heavy glob of cream unless your child’s doctor or the product directions recommend it, because too much product can feel messy and may trap moisture if the skin was not dried well first.
It’s also beneficial to keep the baby upright after application, similar to how spit-up management helps prevent discomfort.
| Area | Amount | Goal |
|---|---|---|
| Small spot | Pea-sized | Targeted coverage |
| Larger patch | Slightly more | Even protection |
| All folds | Thin layer | Moisture control |
You’re aiming for enough cream to shield, not smother. A proper amount lets skin breathe while still reducing friction. If the rash looks worse, reassess the amount you’re using and make sure the skin is dry before each application.
How to Apply Diaper Rash Cream
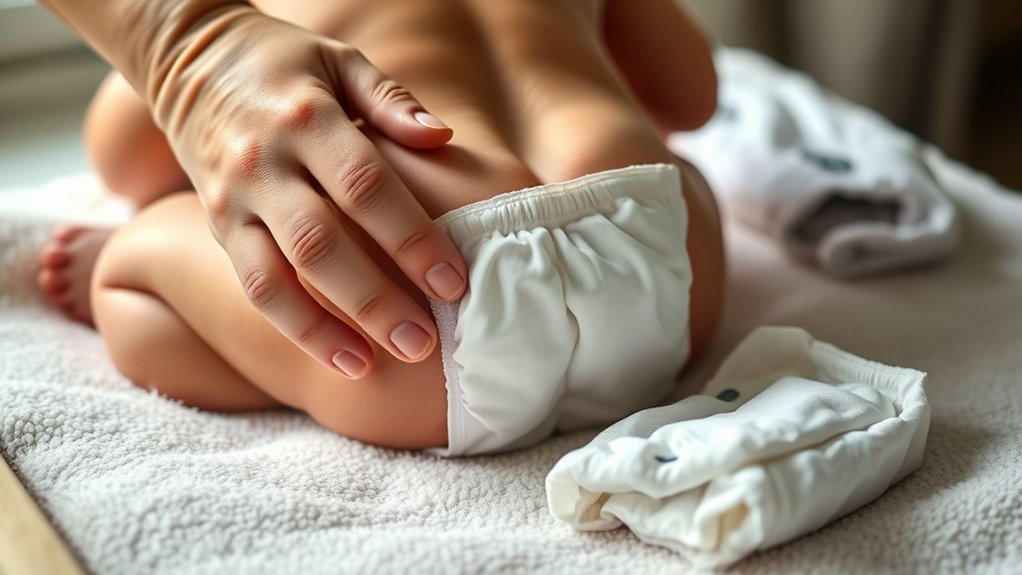
Start by gently cleaning the diaper area with warm water and a mild, fragrance-free cleanser, then pat the skin completely dry so you don’t trap moisture under the cream.
When you apply diaper rash cream, use a pea-sized amount first, then spread a thin layer over the affected areas and into skin folds. This helps create a protective barrier against moisture and friction.
If the signs of diaper rash cover a larger area, add a little more, but avoid piling on thick layers unless the product label says to use a thick barrier. Overapplying can become messy and may slow healing if moisture is trapped underneath.
After applying cream, give it a moment to settle before you put on a fresh diaper.
Check the area each time you change a diaper and reapply as needed.
Wash your hands after you’re done to keep things clean.
Keep your approach calm and consistent; you’re supporting comfort, protection, and skin recovery without unnecessary fuss.
Step-by-Step Diaper Cream Routine
- Wash or sanitize your hands. Clean hands help reduce the chance of adding germs to irritated skin.
- Remove the soiled diaper. Fold it away from the skin so stool or urine does not spread.
- Clean gently. Use warm water, a soft cloth, or fragrance-free wipes.
- Pat dry. Do not scrub. Rubbing can make redness worse.
- Let the skin air dry. Give folds and creases a few moments to dry fully.
- Apply cream gently. Use a pea-sized amount for small spots or a thin layer over wider redness.
- Cover all irritated areas. Include the buttocks, thigh folds, and creases where moisture collects.
- Put on a fresh diaper. Choose a diaper that fits snugly but does not press tightly on the rash.
- Wash your hands again. This keeps the diaper change clean from start to finish.
Note: You do not need to scrub off every trace of barrier cream at each change. Remove stool and heavy buildup, then gently clean and reapply as needed.
Apply Cream to All Irritated Skin
You should cover all areas of redness or irritation with a thin, even layer of cream, making sure no affected skin is left exposed.
Pay close attention to skin folds and creases, since these spots can hold moisture and need extra protection.
Reapply the cream after each diaper change to keep the barrier in place and support healing.
Cover All Affected Areas
Apply a pea-sized amount of diaper rash cream to all irritated skin, making sure to cover the buttocks, thighs, and any skin folds or creases.
Before you apply the cream, keep the affected area clean and dry so the product can work effectively.
Spread it gently instead of rubbing, so you create a protective barrier without adding discomfort. Use enough to fully cover every visible patch of redness, which can help soothe sensitive skin and support skin recovery.
Reapply cream at every diaper change until the rash clears, since ongoing coverage helps promote healing.
By treating all irritated skin consistently, you give the area steady protection and reduce friction.
If the rash worsens or doesn’t improve, check with a clinician for guidance.
Focus On Skin Folds
Pay close attention to skin folds, especially around the thighs and buttocks, where moisture can collect and irritation often hides. To calm diaper rash, apply cream to all irritated skin, including red areas tucked into skin folds. Use a thin layer, then gently spread it instead of rubbing, so you don’t worsen discomfort. This helps build a protective barrier and keeps the skin supported.
| Area | What to do |
|---|---|
| Thigh folds | Apply cream evenly |
| Buttocks creases | Cover red areas |
| Hidden wrinkles | Check for moisture |
During diaper changes, inspect these spots closely. If you see fresh irritation, reapplying cream can help maintain comfort and protection.
Reapply After Each Change
After every diaper change, reapply diaper rash cream to keep a steady barrier against moisture and irritation.
You should clean the area gently, then pat it completely dry before you apply the diaper rash cream again. Use enough at each change to cover all irritated skin, including folds and creases, so the protective barrier stays continuous.
This routine helps promote healing, eases discomfort, and can prevent rashes from worsening. Even when the skin looks healthy, keep reapplying during each change if your baby is prone to irritation or will be in the diaper longer than usual.
Consistency gives you more freedom from repeated flare-ups and keeps your baby’s skin protected. When you make reapply part of every change, you support comfort, recovery, and prevention with simple, reliable care.
Put on a Fresh Diaper
Slip on a fresh diaper once the cream has been applied and the skin is clean and dry. This step helps diaper rash cream protect the skin without trapping extra moisture or friction.
Choose a diaper that fits well: snug enough to stay in place, but not so tight that it presses on the rash. When you’re applying the new diaper, keep it secure and allow for air circulation at the waist and legs.
If you use cloth diapers, skip rubber pants during a rash so the skin can breathe. Also check whether your diaper cream is safe for cloth diapers, because some barrier creams can build up on fabric and affect absorbency.
At every change, check for redness and keep the area clean.
- You may feel calmer when the fit is right.
- Your baby can move more freely with less rubbing.
- You’re helping the skin recover with each careful change.
Wash your hands thoroughly after finishing. If the rash persists, keep observing the skin closely and maintain this gentle routine.
When to Reapply Diaper Rash Cream
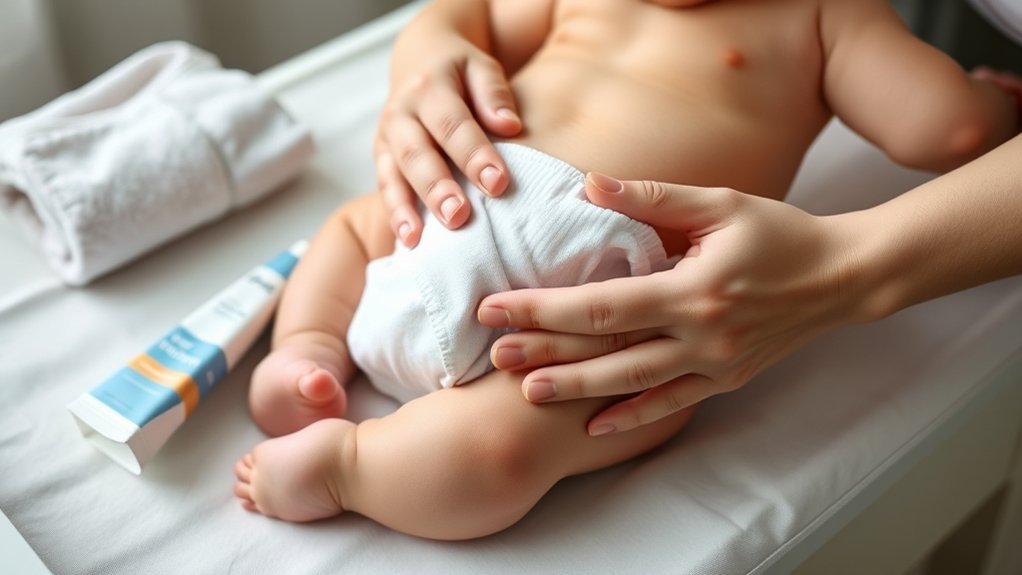
Reapply diaper rash cream at every diaper change, especially after cleansing the area and before putting on a fresh diaper, so the skin stays protected from moisture and irritation.
You should reapply diaper rash cream whenever you clean the skin, because a dry, intact surface helps the protective barrier work well. If you see the first sign of redness or irritation, don’t wait; reapply to prevent escalation and support healing.
During nighttime changes, apply cream during nighttime care too, since prolonged contact with moisture can worsen discomfort while your baby sleeps.
Keep using the cream through each change until the rash resolves, then shift to preventive use as needed. This routine gives you steady control, reduces friction, and supports the skin’s recovery without overcomplicating care.
Cream vs. Ointment vs. Paste
Diaper rash products can feel confusing because labels often use words like cream, ointment, balm, and paste. The best choice depends on how irritated the skin looks and how much barrier protection your baby needs.
| Product Type | Texture | Best For |
|---|---|---|
| Cream | Smooth and spreadable | Mild redness and daily prevention |
| Ointment | Greasy barrier | Moisture protection and friction control |
| Paste | Thicker coating | More noticeable irritation or overnight use |
For mild redness, a thin cream layer may be enough. For frequent wet diapers, overnight protection, or a rash that rubs easily, a thicker ointment or paste may stay in place longer. Always follow the product label and ask your pediatrician if you are unsure what to use.
Common Diaper Rash Cream Mistakes
A few common diaper rash cream mistakes can slow healing or make irritation worse. You’ll protect your baby better when you avoid these pitfalls while applying diaper cream.
- Applying cream to wet skin. Moisture can get trapped under the barrier and worsen diaper rash. Pat the diaper area dry first.
- Using too much cream on poorly dried skin. A heavy layer can feel messy and may trap dampness if the skin is not dry.
- Rubbing too hard. Strong rubbing can make red skin more painful.
- Skipping diaper-free time. Clean, dry breaks help prevent diaper rash and support healing.
- Waiting too long between changes. Cream helps, but frequent diaper changes are still important.
Cream alone isn’t enough to prevent diaper rash. You still need proper cleansing, frequent diaper changes, and a dry diaper area. Understanding normal spit-up can also help you recognize when your baby’s discomfort may not be related to diaper rash.
Keep watching the rash for signs of infection or increasing severity, because early attention helps you stay calm and in control.
Watch for signs of infection or worsening rash so you can act early and stay calm.
When you avoid these mistakes, you give the skin space to recover and help your child feel freer, more comfortable, and less burdened by irritation.
When Diaper Rash Needs a Doctor
If your baby’s diaper rash doesn’t improve after three days of consistent care, it’s time to call your pediatrician. You should seek medical advice sooner if you see signs of infection, including increased redness, swelling, pus, open sores, blisters, or bleeding.
Watch your baby closely during diaper changes; if the rash causes obvious discomfort or pain, don’t wait. Persistent rashes that don’t respond to over-the-counter treatment may need prescription-strength creams or a closer evaluation.
Fever, poor feeding, spreading rash, or unusual fussiness can point to an underlying issue that needs prompt care. When you act early, you protect your baby’s skin and avoid unnecessary suffering.
Trust your judgment: if the diaper rash looks worse, spreads, or keeps returning, your pediatrician can help you decide the next step. You don’t have to manage every rash alone, and you deserve clear guidance that supports your child’s comfort and healing.
Warning: Do not use steroid creams, antifungal creams, antibiotic ointments, baby powder, or home remedies on a diaper rash unless your child’s doctor recommends them. Some products can irritate baby skin or hide signs of infection.
Frequently Asked Questions
How do you properly apply diaper rash cream?
Clean the diaper area with warm water or fragrance-free wipes, pat the skin completely dry, then gently spread a thin, even layer of diaper rash cream over the irritated area. Cover folds and creases, then put on a fresh diaper.
Do you apply diaper cream with fingers?
Yes, you can apply diaper cream with clean fingers. Wash your hands before and after the diaper change. If you prefer less mess, you can use a clean diaper cream spatula or applicator.
Should diaper rash cream be rubbed in?
No. Do not rub diaper rash cream in hard. Spread it gently so it leaves a light barrier on the skin. The barrier is what helps protect against moisture and friction.
Do I apply diaper cream all the time or only when there is a rash?
You can use diaper cream during a rash and also for prevention when your baby is prone to irritation, has diarrhea, sleeps for a longer stretch, or has frequent wet diapers. For healthy skin, a light preventive layer may be enough.
Should I remove old diaper cream before applying more?
Remove stool, urine, and heavy buildup, but you do not need to scrub off every trace of old cream. Gentle cleaning protects irritated skin from more friction. After cleaning and drying, reapply fresh cream as needed.
How long should diaper rash cream take to work?
Mild diaper rash often starts looking better with consistent care, frequent changes, and barrier cream. If the rash does not improve within three days, gets worse, or shows signs of infection, contact your child’s doctor.
Sources
- American Academy of Dermatology Association — diaper rash care basics and when to seek medical help
- HealthyChildren.org from the American Academy of Pediatrics — diaper rash causes, prevention, and treatment guidance
- MedlinePlus — diaper rash symptoms, home care, and warning signs
Conclusion
You’ve got the basics down: clean the area, pat it dry, spread a thin layer of diaper rash cream, and change into a fresh diaper. Think of the cream as a protective shield, calming irritated skin like a cool umbrella in a storm. Reapply with each diaper change if needed, and avoid rubbing it in too hard. If the rash doesn’t improve within three days, spreads, blisters, bleeds, or looks worse, call your child’s doctor for guidance.