An electric baby bottle sterilizer uses steam from a small amount of water to kill 99.9% of germs on bottles, nipples, and pacifiers, often in 10 to 45 minutes with auto shut-off. You’ll find it most useful for newborns, preemies, sick babies, or after exposure to germs. It’s not always required for every family, but it can make feeding cleanup safer and easier, and the details can help you choose the right routine.
How Does an Electric Baby Bottle Sterilizer Work?
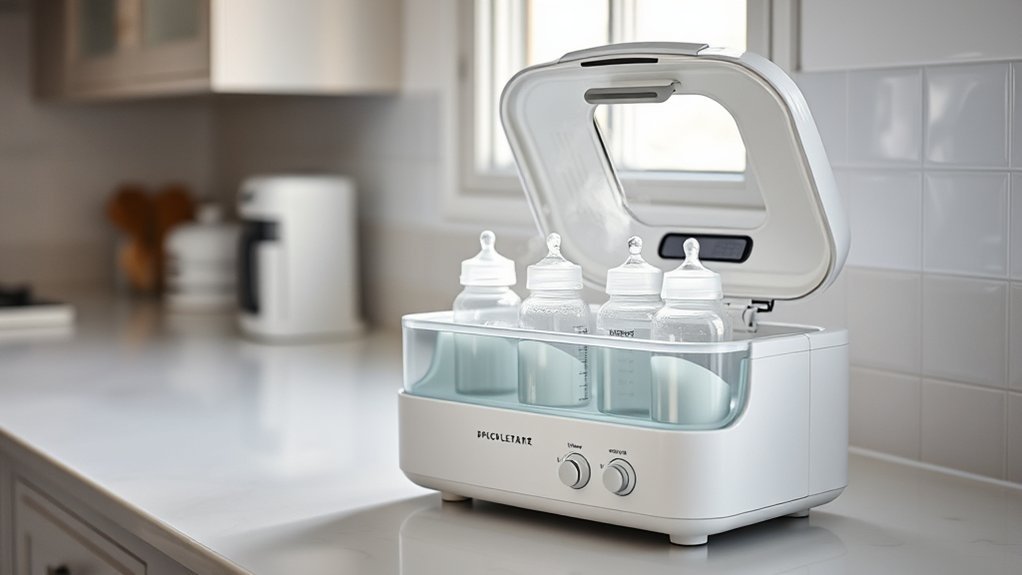
An electric baby bottle sterilizer works by using steam generated from boiling water to kill 99.9% of harmful bacteria and germs on bottles, nipples, and other baby items.
You add a measured amount of distilled water to the reservoir, then load your bottles and accessories into the chamber. The unit heats the water, creates electric steam, and circulates it around each item for thorough coverage.
Most models let you sterilize several pieces at once, so you can move with less hassle and more control. Depending on the setting, the cycle usually takes 10 to 45 minutes, giving you flexibility when your day shifts fast.
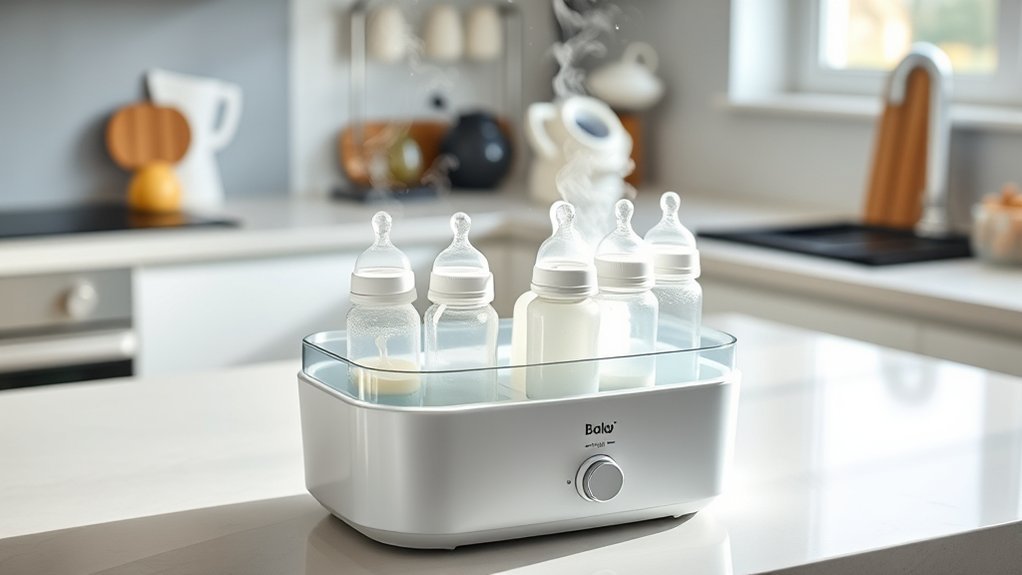
When the process ends, auto shut-off turns the machine off, helping prevent overheating. You don’t need to micromanage it. Just set it, trust the cycle, and get back to caring for your baby on your own terms.
Why Sterilizing Baby Bottles Matters
Sterilizing baby bottles matters because it helps protect your baby from germs that can linger on feeding gear, especially in leftover milk or formula. When you sterilize baby bottles, you’re reducing the bacteria that can multiply in warm, damp spaces and cause illness.
Sterilizing baby bottles helps protect your baby from lingering germs in leftover milk, formula, and warm, damp feeding gear.
This step is especially important for newborns and preemies, whose immune systems aren’t fully ready to fight off infection. It also gives you peace of mind from day one.
- Before first use, sterilization clears manufacturing or packaging contaminants.
- After travel or contact with dirty surfaces, it adds a smart safety reset.
- For sick babies or those with weakened immunity, daily sterilization offers extra protection.
You don’t need perfection—you need a simple system that supports your freedom and your baby’s health. A quick, reliable routine can help you feed with confidence, knowing you’ve done your part to keep things clean.
When Should You Sterilize Baby Bottles?
You should sterilize baby bottles before their first use to clear away any germs from manufacturing and packaging.
After that, sterilize them again whenever they’ve been exposed to germs, like after travel, contact with dirty surfaces, or if milk or formula has sat out too long.
It’s also especially important to sterilize daily when your baby’s sick or if you’re caring for a newborn with a still-developing immune system.
Before First Use
Before your baby uses a bottle for the first time, sterilize it to remove any bacteria that may have gotten in during manufacturing or packaging. You don’t need to overthink it; this first step gives you peace of mind and helps you start clean.
Make sure every bottle parts piece gets treated, including nipples, rings, and caps.
- Wash the bottle thoroughly first.
- Sterilize all bottle parts together.
- Let them air-dry on a clean surface.
This simple routine supports safer feeding without adding stress.
After the first sterilization, you can focus on handling bottles confidently and on your own terms. Evidence shows that a clean start matters, and sterilizing before first use is a practical way to protect your baby while keeping your feeding setup ready for everyday life.
After Exposure To Germs
Once you’ve set up a clean routine for first use, it helps to know when bottles need extra protection after exposure to germs.
After travel, sterilize baby bottles in your sterilizer to clear away germs they may’ve picked up on the go. Do the same if milk or formula sat at room temperature too long, since bacteria can grow fast.
If a bottle touched a dirty countertop, sink, or other contaminated surface, sterilize it before you use it again.
When your baby’s sick, daily sterilization gives extra protection while their immune system is vulnerable.
For new bottles, sterilize before first use to remove possible manufacturing or packaging germs.
These simple steps help you protect your baby without overcomplicating feeding.
How to Set Up an Electric Baby Bottle Sterilizer?
Set up the sterilizer by pouring 100 milliliters of distilled water onto the heating plate, then place the bottles upside down so steam can reach the inside surfaces effectively. This simple routine helps you sterilize with confidence and keep your feeding gear ready without fuss.
- Put the bottles in the main chamber, and use the basket for nipples and pacifiers so smaller parts don’t slip around.
- Secure the lid before you start; a tight seal keeps steam pressure steady and makes the cycle more efficient.
- Select the setting that fits your day: quick sterilization, sterilization with drying, or extended drying.
You don’t need to micromanage the process—just load, seal, choose, and let the machine do the work. That gives you a practical, evidence-based way to care for your baby’s bottles while saving time and mental energy.
What Can You Put in the Sterilizer?
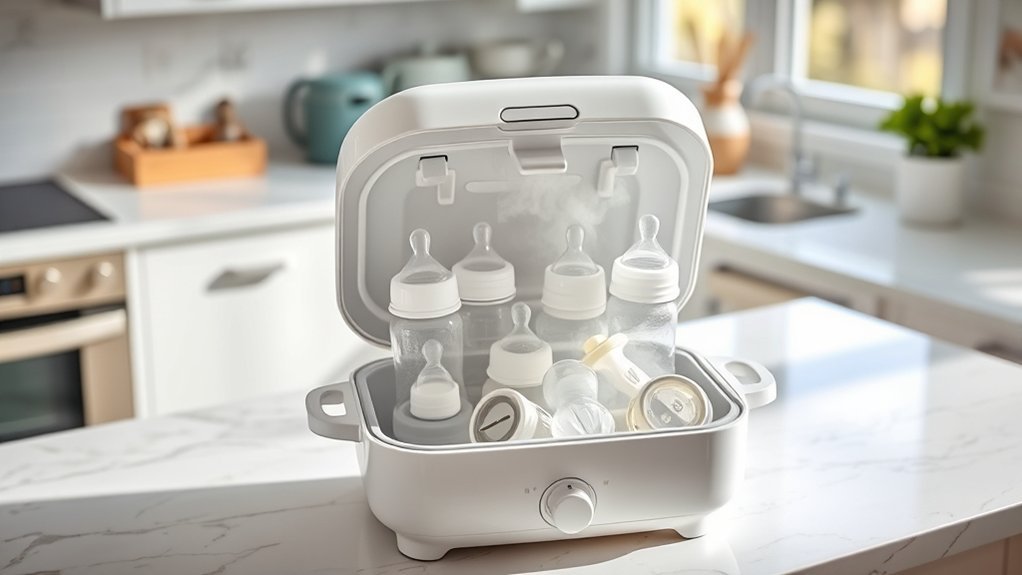
You can sterilize more than just baby bottles in an electric sterilizer: nipples, pacifiers, small baby utensils, bottle caps, and some small toys often fit as well, helping you sanitize the items your baby uses most.
Electric sterilizers can sanitize more than bottles—nipples, pacifiers, utensils, caps, and even some small toys.
Most units also handle standard-sized bottles from different brands, so you don’t have to buy a matching set to stay prepared. Many models hold up to six bottles at once, which saves you time and cuts down on repetitive chores. That flexibility matters when you’re juggling feeds and want cleaner bottles and accessories without extra work.
Before loading anything, check the manufacturer’s guide for size and material limits. Some items may warp or not fit safely, and overcrowding can block effective sterilization.
If an item is listed as safe, place it as directed and let the sterilizer do the work. Used this way, the device helps you keep daily feeding gear hygienic, practical, and ready when you need it.
How Do the Sterilize and Dry Cycles Differ?
After you’ve loaded bottles, nipples, or other safe items into the sterilizer, the next step is choosing the right cycle.
The sterilize cycle uses steam to reach all surfaces and usually finishes in 10 to 15 minutes, so you can move fast when time’s tight.
The dry cycle comes next, using heated air to remove moisture and usually taking 30 to 60 minutes, depending on the setting.
Some sterilizer models combine both steps into one continuous run, which can free you from extra waiting and handling.
- Choose sterilize when you want quick treatment.
- Choose dry when you need fully dry parts before storage.
- Choose a combined cycle when convenience matters most.
Because the sterilizer is designed for even steam flow and balanced heat, both cycles work together efficiently.
Knowing the difference helps you pick the setting that fits your day, not the other way around.
How Well Do Electric Sterilizers Kill Germs?
How effective are electric baby bottle sterilizers? Very. These electric sterilizers use high-temperature steam to kill 99.9% of harmful bacteria and germs, so you can sanitize bottles, nipples, and accessories with confidence.
Most cycles take 10 to 45 minutes, giving you a fast, low-effort way to protect your baby without adding extra work to your day. You can also load several items at once, which saves time when you’re managing feeds, pumps, and a full schedule.
Most cycles take 10 to 45 minutes, making sterilizing quick, easy, and simple to fit into your day.
Many models shut off automatically when the cycle ends, so you don’t have to hover or worry about overheating. That built-in safety helps you keep control while the machine does the hard work.
Regular use makes the biggest difference for newborns and infants with weaker immune systems. If you want a practical layer of protection that supports your freedom and peace of mind, electric sterilizers deliver dependable results.
How Do Electric Sterilizers Compare to Boiling and Microwaves?
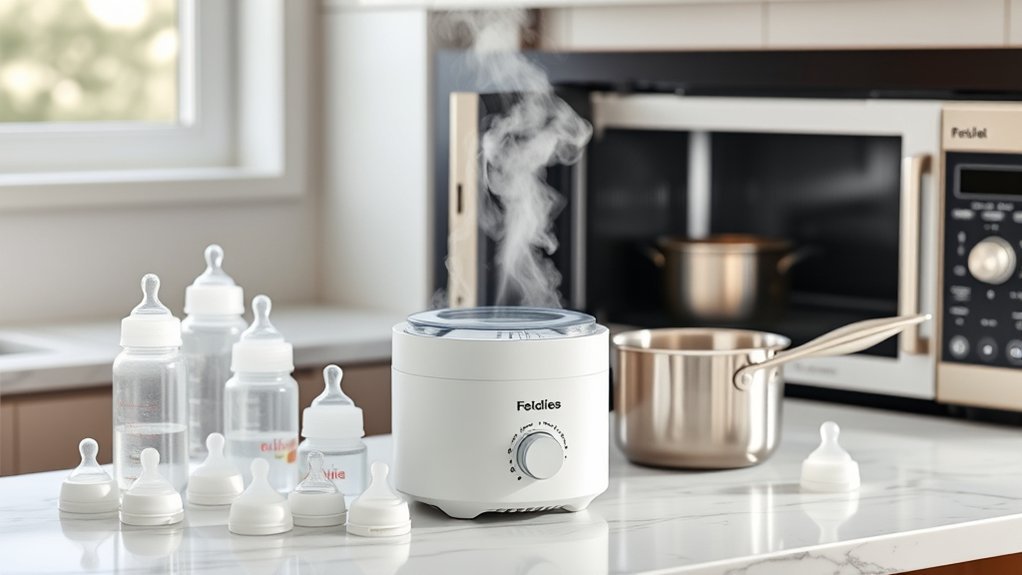
When you compare electric sterilizers with boiling, you’ll see they can handle multiple bottles at once, keep temperatures steady, and cut down on hot-water handling risks.
Microwave sterilizers can be quicker to set up, but they usually fit fewer items and need careful placement for even results.
Boiling still works, but it needs close monitoring, while electric models often add auto shut-off for easier, safer use.
Electric Vs. Boiling
Electric sterilizers offer a faster, more convenient alternative to boiling, using steam to kill bacteria in about 10 to 45 minutes depending on the setting, while boiling usually requires at least five minutes of continuous attention.
With electric sterilizers, you can reclaim time and keep your routine moving.
- Hands-free ease: You load bottles, press start, and let the unit work.
- Less guesswork: Auto shut-off helps you avoid overdoing it or forgetting the pot.
- More capacity: You can sterilize several bottles and accessories at once.
Boiling still works, but it asks more of you: constant watching, careful timing, and more room for error.
If you want a reliable, low-effort option, electric sterilizers give you practical freedom and peace of mind without sacrificing hygiene.
Microwave Sterilizer Differences
If you’re weighing your options, microwave sterilizers sit somewhere between boiling and electric models: they usually use steam from a little water and can finish in about 5 to 10 minutes, which is faster than boiling and often quicker than many electric cycles.
A microwave sterilizer is handy when you want a quick, low-fuss routine and don’t need to process many items at once.
Electric sterilizers usually win for batch loads, since they hold more bottles and accessories and often add auto shut-off or drying.
Boiling still works, but it takes longer and can be rougher on some materials.
Whichever method you choose, handle hot parts carefully.
The best option is the one that fits your rhythm, protects your gear, and gives you more freedom.
How Should You Clean Bottles Before Sterilizing?
Start by taking every bottle apart, removing the nipple, collar, and any other internal pieces so you can clean each surface properly. Rinse each part right after feeding with clean water to wash away milk before it dries and feeds bacteria.
Then wash the pieces in hot, soapy water, or put dishwasher-safe bottles on the top rack. A bottle brush helps you scrub inside the bottle and nipple, especially around crevices where residue hides.
After washing, rinse everything again under running water so no soap stays behind before sterilizing.
- Disassemble fully.
- Scrub with hot, soapy water or use the dishwasher.
- Rinse well and let parts drain.
You don’t need perfection, just a consistent routine that clears away residue and supports safer sterilization.
When you handle the basics well, you keep feeding simple, sanitary, and more in your control.
Is an Electric Baby Bottle Sterilizer Worth It?
Once your bottles are washed and rinsed, an electric baby bottle sterilizer can save you time and effort. It uses steam to kill bacteria fast, so you don’t have to boil parts on the stove or watch a pot. For busy days, that freedom matters.
| Feature | Benefit | Why it matters |
|---|---|---|
| Steam sterilizing | Quick bacteria reduction | Less waiting |
| Fits up to six bottles | Batch cleaning | Saves time |
| Auto shut-off | Safer operation | Less worry |
An electric baby bottle sterilizer also handles nipples, pacifiers, and other small accessories, giving you broader protection in one cycle. If you’ve got a newborn or an infant with a developing immune system, that extra layer of cleanliness can feel worth the investment. Still, if you only sterilize occasionally, manual methods may be enough. For most families juggling feeds, chores, and rest, this tool offers practical relief and dependable hygiene.
Frequently Asked Questions
How to Sterilize Baby Bottles in an Electric Sterilizer?
Pour the recommended distilled water into the heater, place disassembled bottles upside down, add nipples to the basket, choose the cycle, and wait. Your Sterilization Frequency can follow pediatric guidance; let everything cool before handling.
How Does an Electric Steriliser Work?
You fill the reservoir, and it heats water into steam that surrounds your bottles, killing germs through effective Sterilization Methods. You load multiple items, start the cycle, and it usually shuts off automatically in minutes.
How Does a Baby Bottle Sterilizer Work?
A baby bottle sterilizer heats water into steam, and you place bottles inside so it kills germs fast. You get Sterilization Benefits, extra peace of mind, and safer feeding gear without scrubbing endlessly.
Is an Electric Sterilizer Worth It?
Yes, it’s worth it if you value time, safety, and simplicity. You’ll save effort, reduce cleaning stress, and Cost Comparison often favors convenience. If you’re busy, you’ll likely feel liberated by that ease.
Conclusion
If you’re weighing whether an electric baby bottle sterilizer is necessary, think of it as a time-saving tool, not a must-have. It uses steam to kill germs quickly, and it’s especially helpful in the first months, after illness, or if your baby has a weaker immune system. You can boil bottles or use a microwave instead, but a sterilizer makes the job easier, faster, and more consistent when you’re already stretched thin.