
How to Use Anti-Colic Bottle Parts
Anti-colic bottles can help feeding feel calmer, but only when each small part sits in the right place. A loose ring, blocked vent, or closed valve can lead to leaks, fast flow, or more swallowed air. This guide shows you how the parts work, how to assemble the bottle, how to feed with it, and how to clean it after use.
Quick Answer
Anti-colic bottle parts usually include the bottle base, nipple, screw ring, venting tube, and silicone valve. You assemble each part snugly, keep the vent path clear, and hold the bottle at a slight angle during feeds. Clean every part after use, and sterilize the pieces with boiling, steam, UV, or another approved method your bottle brand allows.
Key Takeaways
- Check each bottle part before every feed so you can catch damage, clogs, or poor alignment.
- Keep the silicone valve open and the vent path clear so air can move away from the milk.
- Hold the bottle at a slight angle and follow your baby’s feeding cues.
- Wash every part after use, then sterilize the pieces with a method approved for your bottle.
- Replace cracked, stretched, sticky, or worn parts right away for safer feeding.
Before You Begin
Set aside about 10 to 15 minutes for assembly, feeding setup, and cleanup after the feed. You may need a clean surface, warm soapy water, a bottle brush, sterilizing equipment, and all bottle parts from the same brand or compatible set.
Always read the bottle maker’s instructions before first use. Anti-colic bottle systems can look similar, but some brands use different vents, valves, collars, and warming rules.
Warning: Do not use cracked nipples, damaged valves, or mismatched parts, because they can affect flow and safety.
Anti-Colic Bottle Parts and What They Do

An anti-colic bottle works as a simple system. The bottle base holds the milk, the nipple delivers it, the screw ring secures the top, and the venting tube and silicone valve help manage airflow.
During bottle feeding, these parts help your baby drink with a smoother flow. The venting tube lets air move through a separate path, which may help reduce swallowed air during feeds.
During bottle feeding, each part works together to help your baby drink more comfortably and with less fuss.
The silicone valve helps keep the nipple from collapsing, so milk flows steadily. When you assemble the bottle, make sure every piece sits properly and the valve stays open.
That small check can help prevent leaks and keep the bottle working as intended. You should also inspect and clean the nipple and vent parts often.
A well-kept bottle supports easier feeding and gives you one less thing to manage. Understanding nipple flow rates can also help you choose a flow that suits your baby.
How the Vent System Works
The vent system lets air move through the bottle without mixing as much into the milk. This setup can help your baby take in less air while feeding.
In an anti-colic bottle, the internal vent system channels air through a venting tube and silicone valve. This design helps support smoother milk flow and may help reduce gas, spit-up, burping, and fussiness for some babies.
Your baby can feed at a steadier pace, and the nipple stays stable instead of collapsing. The design supports a calmer feeding experience for both of you.
To keep it working well, make sure the silicone valve stays open. Also check that no dried milk, formula powder, or residue blocks the vent path.
When the vent system works as intended, feeding can feel easier and less stressful. The venting system also plays an important role in reducing discomfort during feeds.
How to Assemble the Bottle
Follow the same order each time so you do not miss a small part. A simple routine helps you spot leaks, blocked vents, or a nipple that does not sit flat.
- Wash your hands before touching clean bottle parts.
- Check each part for cracks, tears, clogged holes, or sticky residue.
- Snap the nipple into the collar so it sits flat with no gaps.
- Connect the vent parts according to your bottle brand’s instructions.
- Place the vent system inside the bottle and keep the vent lid closed if your bottle uses one.
- Fill the bottle below the fill line to help prevent overflow and leaks.
- Tighten the collar gently until it feels secure, but do not over-tighten it.
- Check the silicone valve slit so it stays open and ready for airflow.
This assembly process supports minimized air intake, which may help reduce discomfort and fussiness after feeding.
Gather Bottle Parts
Before you begin, gather all the parts: the bottle base, nipple, screw ring, venting tube, and silicone valve. Lay each piece on a clean surface so you can see what you have.
Snap the nipple securely into the collar, then check that it sits snugly on the bottle. Place the venting tube inside the bottle and keep the lid fully closed if your bottle includes one.
Fill the bottle with your chosen liquid, staying below the fill line to prevent overflow. Finally, tighten the collar over the vent system firmly, but do not over-tighten it.
Align Vent Components
Before you assemble the bottle, connect the reservoir tube snugly to the insert. This step helps the internal vent system sit in the correct position.
Next, align the vent components with care. Place the feeding valve into the back of the nipple or teat, then snap it firmly into the collar if your bottle uses this design.
Check that the silicone valve slit stays open, so the nipple does not collapse during feeding. Then set the collar on the bottle and turn the screw ring until it feels secure.
Do not over-tighten the ring, because the vent needs room to work. Make sure the venting tube lid closes fully, so leaks do not interrupt the feed.
Secure Nipple Assembly
Snap the nipple into the collar first. Make sure it sits evenly with no gaps, and check that the silicone valve stays open.
This secure nipple assembly helps the bottle work as designed. During warming, follow your bottle maker’s instructions, because some systems need a loosened collar or removed vent parts.
Once you fill the bottle to the right level, attach the reservoir for the internal vent system. Then tighten the collar around the nipple and vent parts until it feels snug.
You want a firm seal, not pressure that blocks airflow. When everything lines up, your bottle can support smoother feeding and less air intake.
How to Feed With the Anti-Colic Bottle
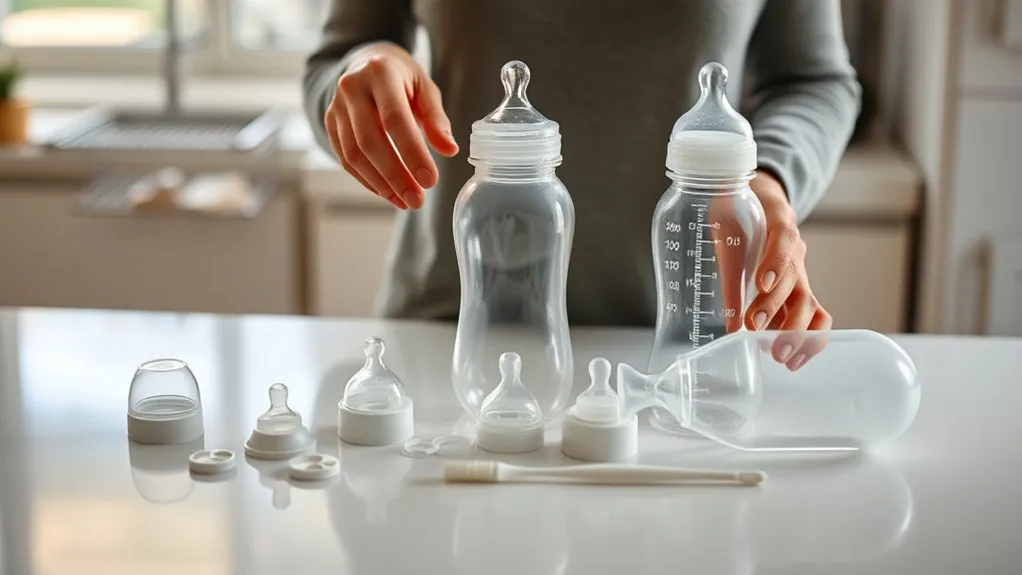
Hold the anti-colic bottle at a slight angle so the vent stays aligned and milk flows smoothly. Keep the nipple filled with milk, but avoid tipping the bottle too high.
Watch your baby’s cues and let them set the pace. Adjust the bottle angle or nipple flow if feeding seems rushed, slow, or uncomfortable.
When you set up and position the bottle well, you help make each feeding calmer and more comfortable. Holding your baby upright during feeding can also reduce swallowed air and support comfort. You can learn more about this in this guide to infant gas relief.
Proper Bottle Positioning
A slight angle makes a big difference when you feed with an anti-colic bottle. Keep the nipple filled with milk so your baby does not pull in extra air.
If your bottle has an AirFree vent or alignment icon, follow that brand’s markings for the best flow. Hold the bottle nearly horizontal, then tilt just enough to keep milk in the nipple.
Check that the nipple flow matches your baby’s needs. If the flow seems too fast or too slow, switch sizes according to your bottle brand’s age and flow guidance.
Watch for comfort cues, and adjust the angle if you notice coughing, gulping, gas, or strain. A steady setup supports easier feeding and better air control.
Baby-Led Feeding Pace
Once you set the right angle, let your baby take the lead with the anti-colic bottle. This baby-led feeding pace supports a calmer rhythm and can feel more natural for your baby.
Some bottles use a low-resistance or paced-flow system that lets milk move as your baby sucks. The venting system also helps keep air out, which may ease gas and colic discomfort.
- Watch for steady sucking and relaxed pauses.
- Tilt just enough to keep milk flowing without trapping air.
- Pause the feed if your baby coughs, gulps, turns away, or seems tense.
Stay attentive to your baby’s cues and let them guide the session. When you follow their comfort, you support calmer feeding habits.
Pro tip: Pause halfway through the bottle for a burp break if your baby seems gassy or restless.
How to Clean and Sterilize Bottle Parts
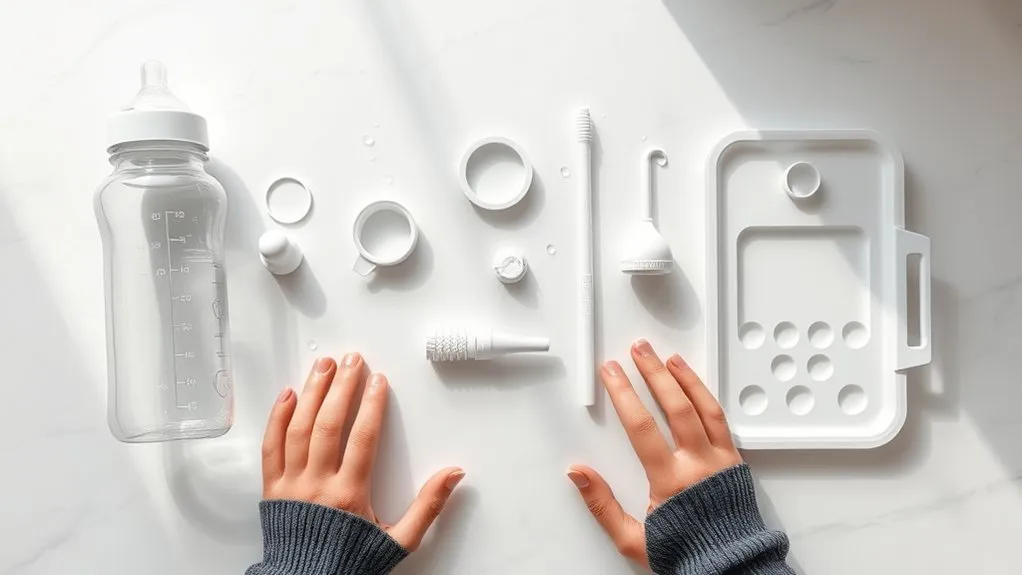
To keep anti-colic bottle parts clean, take apart every component, including the nipple, collar, and venting system, before washing. Small vent parts can hold milk residue if you leave them attached.
Wash the parts in warm, soapy water, or place dishwasher-safe pieces on the top dishwasher shelf. Use a small brush for vents, valves, and nipple openings if your bottle kit includes one.
Then sterilize them by boiling for 5 minutes, or use an approved UV, steam, or cold-water solution. Follow the maker’s instructions because some parts may not suit every sterilizing method.
Sterilize bottle parts with boiling, steam, UV, or another approved method only when your bottle maker allows it.
If your bottle supports self-sterilizing, add the amount of water the maker recommends, loosely assemble the parts, and microwave for the listed time. Let everything cool before handling.
Finally, inspect each part often and replace worn or damaged pieces, especially the nipple. Proper sterilization helps reduce germs and supports your baby’s health.
Common Problems and How to Fix Them
Even with proper cleaning and sterilizing, anti-colic bottles can sometimes leak, clog, or cause feeding discomfort. Most issues come from loose parts, blocked vents, worn nipples, or a flow rate that does not suit your baby.
When you troubleshoot common problems, start by checking that every piece fits together tightly and that the vent path stays clear. If the nipple collapses, check that the silicone valve slit stays open and the venting tube lid stays closed.
- Leaking bottle: Reassemble all parts and clear any vent clogs.
- Collapsing nipple: Open the valve slit and secure the vent lid.
- Fussy feeding: Check the nipple flow, bottle angle, and milk temperature.
- Slow flow: Clean the nipple opening and vent path before the next feed.
- Fast flow: Try a slower nipple size and use paced feeding.
If you use formula, stir gently instead of shaking hard when your formula instructions allow it. Gentle mixing can reduce foam and help keep the flow steady.
Make sure you use the correct nipple size to avoid overwhelming your baby. Also inspect the nipple, valves, and seals often.
If you spot wear, cracks, stretching, stickiness, or tears, replace the part right away. This keeps feeding safe, smooth, and simple.
When to Call Your Baby’s Doctor
Anti-colic bottles can help with feeding comfort, but they do not treat medical problems. Call your baby’s doctor if your baby has poor weight gain, repeated forceful vomiting, blood in stool, signs of dehydration, breathing trouble, fever, or severe crying that does not improve.
You should also ask for help if every bottle feed causes coughing, choking, gagging, or strong distress. A doctor or feeding specialist can check for reflux, allergy, oral ties, or other feeding concerns.
Frequently Asked Questions
How do you put an anti-colic bottle together?
You connect the vent parts, close the lid if your bottle uses one, and keep the silicone valve open. Then snap the nipple into the collar, fill below the line, and screw the top on gently.
Do you have to use the green part in Dr. Brown bottles?
Some Dr. Brown’s bottles can work without the green vent system, but you may lose part of the anti-colic function. Check the exact bottle model instructions before using it without the vent parts.
How do you put together Dr. Brown anti-colic bottles?
Fill the bottle below the fill line, snap the nipple into the collar, add the vent insert and tube, then tighten the top until it feels snug. Do not over-tighten it, because the vent system still needs to work properly.
How do you assemble a Herobility bottle?
Insert the anti-colic vent into the base if your model uses one, place the nipple in the collar, and twist it snugly onto the bottle. Fill below the line, cap the bottle, and check that all parts sit flat.
How often should you replace anti-colic bottle parts?
Replace parts when you see cracks, tears, stretching, stickiness, discoloration, or poor fit. Many parents replace nipples more often than bottles because nipples wear faster with daily use.
Medical Disclaimer: This article is for informational purposes only and does not constitute professional medical advice. Always consult a qualified doctor before making decisions based on this information.
Conclusion
The most important step is simple: keep every anti-colic bottle part clean, aligned, and in good condition. Check the vent system, nipple, screw ring, and valve before each feed so you can catch small issues early.
If something seems off, pause and check the bottle before you continue feeding. A steady routine can help your baby feed with less air, less stress, and more comfort.