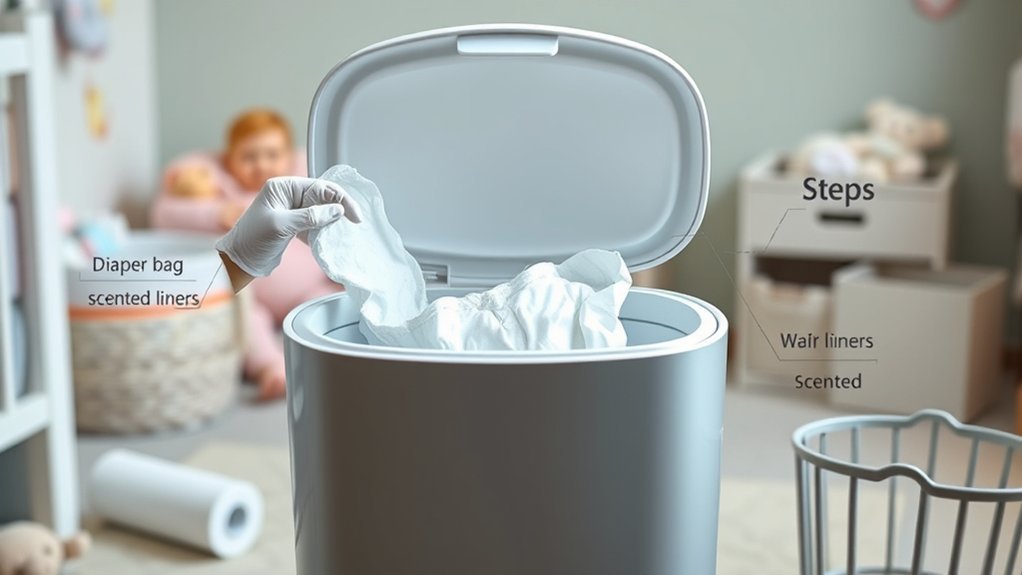
A diaper pail can keep your nursery fresh, but only if you choose one that fits your routine. The wrong pail can leak odors, fill too fast, or make late-night changes harder than they need to be. This guide explains the main diaper pail types, the features that matter, and simple habits that help control smells.
Quick Answer
A good diaper pail should seal tightly, open easily, and hold enough diapers for your daily routine. Choose one with strong odor control, easy liner changes, and a size that matches your nursery space. Empty it often and clean it weekly to keep smells from building up.
Key Takeaways
- Pick a diaper pail with a tight seal to reduce odor between changes.
- Choose the right size based on how many diapers you change each day.
- Use liners that fit your pail well so bags do not slip or leak.
- Empty and clean the pail often to prevent smells from settling in.
- Match the pail style to your nursery if you want it to blend with the room.
Understanding Different Types of Diaper Pails
When you choose a diaper pail, you’ll see several common designs. Traditional diaper pails work like covered trash cans, but they usually include a better lid or seal for odor control. They often cost less and may work with standard trash bags.
Self-sealing models twist, clamp, or seal the liner after each diaper. This design helps trap smells inside the bag, which can help in small nurseries. Some models need special refill bags, so check the ongoing liner cost before you choose one.
You can also find eco-friendly diaper pails made with longer-lasting materials or compatible with biodegradable liners. These options may suit you if you want to reduce plastic waste. Compare each type by size, seal strength, liner needs, and how often you want to empty it.
Key Features to Look For
As you choose a diaper pail, focus on features that make daily use easier. You want a pail that controls odor, opens fast, and holds up to regular use.
Start with these three must-have features:
- Odor control: Look for a tight lid, gasket, clamp, or self-sealing system that helps lock in smells.
- Easy disposal: Choose a pail with one-handed operation so you can drop diapers in quickly.
- Durability: Pick a sturdy design that can handle frequent opening, closing, and liner changes.
Also check the opening size, foot pedal, liner type, and cleaning access. A pail that looks good but feels hard to use can become frustrating fast.
How to Choose the Right Size
The right size depends on your space and how many diapers you change each day. A small pail may work well in a tight nursery, but it will need more frequent emptying. A large pail holds more diapers, but it can also hold odors longer if you do not empty it often.
For newborns, choose a pail that can handle frequent diaper changes. For older babies and toddlers, you may prefer a smaller pail because diaper changes usually become less frequent. If you use cloth diapers, make sure the pail can handle bulkier inserts and wet bags.
Note: A bigger pail does not always mean better odor control, especially if dirty diapers sit too long.
Tips for Effective Usage
Once you have the right pail, simple habits will help it work better. Drop each diaper in right away, then close the lid fully after each change. This keeps odors from spreading through the room.
Consider using scented liners only if you like the smell and your baby tolerates it well. Some parents prefer unscented liners because strong scents can feel harsh in a small nursery. Either way, the liner should fit tightly and seal well when removed.
Keep your pail near the changing station so you can use it fast. Do not overstuff it, because a packed pail can stop the lid or seal from working well. Empty it before it becomes hard to close.
Maintenance and Cleaning Best Practices
Regular care keeps your diaper pail fresh and easier to use.
Regular maintenance helps your diaper pail control odors and stay in good condition.
A little effort can prevent strong diaper odor from building up over time.
Use these simple cleaning habits:
- Empty the pail regularly: Do not wait until it overflows. Frequent emptying keeps odors easier to manage.
- Clean the pail weekly: Wash it with warm soapy water or a mild vinegar solution, especially around the rim.
- Change pail liners often: Replace the liner every time you empty the pail so old smells do not linger.
Let the pail dry fully before you add a new liner. Moisture can make odors worse and may leave the inside feeling grimy.
Common Diaper Pail Mistakes to Avoid
A few small mistakes can make even a good diaper pail smell bad. Overfilling the pail, using loose bags, and skipping cleanings are the most common issues. These habits make it harder for the seal to work properly.
Do not place the pail in direct sun or near a heat vent. Heat can make odors stronger and spread them faster. Keep the pail in a cool, easy-to-reach spot near your changing area.
Warning: Keep diaper pails closed and out of a child’s reach once your baby starts crawling or walking.
Stylish Options for Your Nursery
When you decorate your nursery, you may want a diaper pail that looks clean and simple. Many pails now come in neutral colors, soft tones, and modern shapes. This helps the pail blend into the room instead of standing out.
Choose a finish that matches your furniture, wall color, or storage baskets. White, gray, beige, and soft green often work well in calm nursery designs. A slim shape can also help if your changing station has limited floor space.
Style matters, but function should come first. A chic pail that leaks odors or uses hard-to-find liners may cause more stress than it solves.
Frequently Asked Questions
How Do I Choose the Right Size Diaper Pail for My Needs?
Choose the size based on your available space and daily diaper changes. Smaller pails suit occasional use or tight rooms, while larger pails work better for heavy use. If you choose a large pail, empty it often so odors do not build up.
Can I Use Regular Trash Bags in a Diaper Pail?
You can use regular trash bags in some diaper pails, but they may not fit or seal as well. Pail-specific bags often control odor better because they match the pail’s shape and sealing system. Check your pail’s instructions before you buy liners.
What Is the Lifespan of a Typical Diaper Pail?
A diaper pail can last through one child and often longer if you clean it well. The real lifespan depends on the materials, hinge quality, seal condition, and how often you use it. Replace it if the seal breaks, odors linger after cleaning, or the lid no longer closes tightly.
Are There Eco-Friendly Diaper Pail Options Available?
Yes, you can choose diaper pails made with durable materials or models that work with biodegradable liners. These options may help reduce waste from refill systems. Check liner compatibility before you buy, because not every eco-friendly liner fits every pail.
How Do I Dispose of the Pail’s Contents Properly?
Seal the liner tightly, then place it in your regular trash unless your local rules say otherwise. Clean the pail after emptying it if liquid, residue, or odor remains. For cloth diapers, follow your wash routine instead of placing them in regular trash.
Conclusion
The best diaper pail is the one that controls odor, fits your space, and feels easy to use every day. Focus on a strong seal, simple liner changes, and a size that matches your diaper routine. Keep it clean, empty it before it gets too full, and place it where you can reach it fast. With the right choice, diaper duty feels cleaner, quicker, and much less stressful.