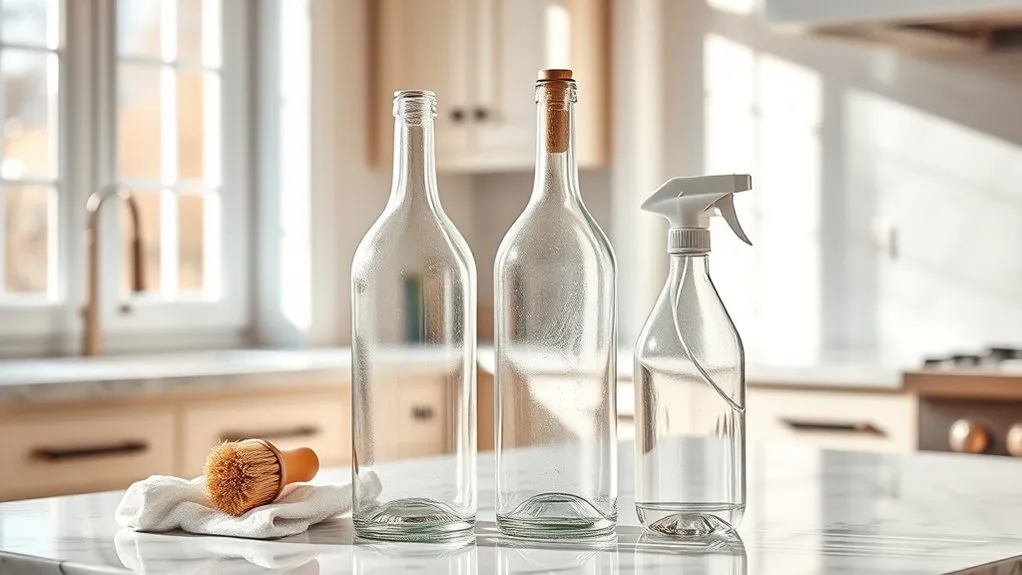
Cleaning bottles properly takes more than a quick rinse. For reusable water bottles, the safest routine is to wash the bottle body and every removable drinking part, rinse away all cleaner, and let everything dry completely before reassembly. The exact method can vary with plastic, glass, stainless steel, coatings, lids, and dishwasher instructions.
Quick Answer
Clean reusable bottles with warm water, mild dish soap, and a bottle brush after regular use, taking lids, gaskets, straws, and valves apart when the maker says they are removable. Rinse with safe drinking-quality water and air-dry every part completely. Use dishwashers, bleach, vinegar, or baking soda only when the bottle’s care instructions allow them.
At a Glance
| Difficulty | Easy |
| Tools Needed | Mild dish soap, bottle brush, small straw or detail brush, and a clean air-drying area |
Why Cleaning Bottles Properly Matters
Reusable bottles stay wet, touch your mouth and hands, and may hold residue from previous drinks. That combination can allow bacteria, yeast, mold, odors, and biofilm to build up, especially around lids, threads, seals, straws, and valves.
A 2024 study of 30 everyday reusable bottles found microbial contamination on both stainless-steel and PET bottles and found that washing significantly reduced the microbial load. The practical lesson is simple: regular cleaning matters even when a bottle looks clean.
Wash bottles especially carefully after milk, protein drinks, juice, sweetened beverages, or anything that can leave nutrients behind. Also inspect the bottle, lid, seals, and straw for cracks, deep scratches, warping, or other damage that makes thorough cleaning difficult.
Essential Supplies for Cleaning Bottles
You do not need an aggressive cleaner for routine bottle maintenance. Mild dish soap, warm water, and brushes that reach the bottle’s hidden surfaces are usually the most useful tools.
- Bottle brush: Choose one that reaches the bottom, shoulders, and inner walls without scratching the material.
- Small detail or straw brush: Use it for drinking tubes, spouts, lid channels, threads, and valves.
- Mild dish soap: Soap and physical scrubbing remove residue more reliably than rinsing alone.
- Baking soda: It can help with persistent smells and some staining when the bottle material permits it.
- White vinegar: It can help with some odors or mineral residue when the manufacturer allows it, but it should not be treated as a substitute for proper washing or approved sanitizing.
- Clean drying area: Give every component enough airflow to dry fully before storage.
How to Clean Reusable Bottles Step by Step
The most reliable method is to disassemble the bottle, wash every food-contact surface, rinse thoroughly, and air-dry completely. Do not force apart components that the manufacturer does not describe as removable.
1. Empty and Take the Bottle Apart
Pour out the remaining drink and separate the lid, straw, removable gasket, valve, or other detachable parts according to the bottle’s instructions. Residue often hides underneath silicone seals and inside drinking mechanisms.
2. Wash the Bottle Body
Add warm water and a small amount of mild dish soap. Scrub the bottom, sidewalls, shoulder, neck, rim, and threads with a bottle brush rather than relying on shaking soapy water inside.
3. Clean the Lid, Straw, and Seals
Wash the mouthpiece, lid channels, cap threads, straw, and removable seals separately. Run a narrow brush through straws and openings so that soap and friction reach the entire drinking path.
4. Rinse Thoroughly
Rinse each piece until visible residue and soap are gone. Use water that is safe for drinking for the final rinse because these surfaces will contact the water or beverage you consume.
5. Air-Dry Completely
Place the parts where air can circulate and allow them to dry fully before putting the bottle back together. Closing a bottle while moisture remains inside can encourage musty odors and microbial growth.
How Cleaning Changes by Bottle Material
Plastic, glass, and stainless-steel bottles can usually be washed with mild soap and water, but heat tolerance, coatings, lids, and dishwasher compatibility differ. The bottle maker’s care instructions should override a general rule.
| Material | Routine Cleaning | Main Caution |
|---|---|---|
| Plastic | Warm soapy water and a non-scratching bottle brush | Avoid high heat unless the bottle is specifically rated dishwasher-safe. |
| Glass | Warm soapy water with gentle scrubbing | Avoid sudden temperature changes and inspect for chips or cracks. |
| Stainless steel | Warm soapy water and a soft bottle brush | Avoid harsh abrasives and follow the care instructions for insulated bodies and exterior coatings. |
Common Bottle-Cleaning Mistakes to Avoid
Most cleaning problems come from missing hidden surfaces, using the wrong cleaner, or putting the bottle away while it is still damp. Fixing those habits is more useful than using stronger chemicals.
Ignoring Hard-to-Reach Areas
The cap, gasket, threads, straw, valve, and bottom edge of the bottle deserve as much attention as the main interior wall. These areas can retain moisture and drink residue even after a quick rinse.
- Bottom and shoulder: Scrub the areas a sponge cannot reach.
- Neck, threads, and cap: Clean both mating surfaces instead of wiping only the drinking rim.
- Gaskets and valves: Remove and wash them only if the manufacturer says they are designed to come out.
- Straws: Brush the full inside length rather than rinsing water through them.
Using Abrasive Cleaners
Scouring powders, metal pads, and other harsh abrasives can scratch some plastic, glass coatings, paint, and stainless-steel finishes. Scratched surfaces may also become harder to keep clean.
Use a soft bottle brush or non-scratching cloth. If a stain will not come off, try a longer soak with a material-compatible cleaner rather than increasing abrasion.
Mixing Cleaning Products
Do not assume that combining household cleaners makes them stronger. Vinegar and baking soda are better used separately for appropriate cleaning jobs; their fizzing reaction does not turn them into a superior sanitizer.
Warning: Never mix chlorine bleach with vinegar, ammonia, or other cleaners. The CDC warns that mixing bleach with other cleaners or disinfectants can release dangerous vapors. Follow the bleach label and the bottle manufacturer’s care instructions.
How to Remove Odors and Stubborn Residue
For stubborn smells, start by taking the lid apart as far as the manufacturer permits and cleaning the gasket, mouthpiece, straw, and threads. The odor often comes from these small parts rather than from the bottle body.
If regular soap and brushing do not solve the problem, baking soda can be used as a separate deodorizing cleaner on compatible materials. Diluted white vinegar may also help with retained smells or mineral residue when the bottle maker allows it.
Do not combine several cleaning agents in the bottle at once. After any deep-cleaning method, wash or rinse as directed and make sure no cleaner remains before drinking from the bottle.
Pro Tip: If an odor returns quickly after the bottle body has been cleaned, inspect removable silicone seals and straws. A damaged, permanently stained, or difficult-to-clean replaceable part may be the real source.
How to Dry and Store Bottles Properly
Drying is part of the cleaning process. A freshly washed bottle can still develop an unpleasant smell if it is sealed while moisture remains trapped inside.
- Drain excess water: Shake out water from the bottle, cap, straw, and other parts.
- Air-dry separately: Position parts so that air reaches the inside surfaces and water can drain away.
- Wait until everything is dry: Reassemble or store the bottle only after the body and small components have dried completely.
- Keep the storage area clean: Store the bottle where dust, dirty dishes, and cleaning chemicals will not contaminate drinking surfaces.
Eco-Friendly Bottle Cleaning Without Sacrificing Hygiene
You can reduce water and disposable-product use without rinsing drinking surfaces in questionable water. The goal is to use less safe water, not replace it with water that may introduce contaminants.
Use Simple Cleaners for the Right Job
Mild dish soap should remain the main cleaner. Baking soda can help with odors, while vinegar may help with some mineral deposits or retained smells if the bottle’s material and care instructions permit it.
Neither ingredient should automatically be treated as a disinfectant. You also do not need to combine them to clean a bottle effectively.
Conserve Water Safely
Turn off the faucet while brushing, wash small parts together in a clean basin, and use only the water you need for rinsing. These habits reduce water use without compromising the final rinse.
Avoid using untreated rainwater or household greywater on surfaces you drink from. The CDC notes that collected rainwater can contain germs and chemicals and specifically recommends limiting its use on items used for cooking or eating unless the water is appropriately treated for the intended use.
Use Reusable Cleaning Tools
A durable bottle brush and straw brush can replace disposable scrubbers and wipes. Rinse the brushes after use, let them dry completely, and replace them if the bristles or surfaces become damaged or difficult to clean.
Frequently Asked Questions
Can I use bleach to clean my bottle safely?
Bleach is not automatically unsafe, but you should use it only when the bottle manufacturer or an appropriate sanitizing procedure permits it. Follow the product directions exactly, use the correct type and dilution for the intended job, and never mix bleach with vinegar, ammonia, or other cleaners.
How often should I clean a reusable water bottle?
Clean a reusable water bottle regularly rather than repeatedly refilling it without washing. Washing after each day of use is a practical routine, and you should clean it after drinks that leave sugar, dairy, protein, or other residue rather than simply rinsing and refilling.
Are vinegar and baking soda good natural bottle cleaners?
They can help with specific cleaning problems, but use them separately. Baking soda can help with odors and residue, while diluted vinegar may help with mineral deposits or retained smells on compatible materials; neither replaces routine washing with soap and thorough rinsing.
What is the best way to remove a stubborn smell from a bottle?
Start by cleaning the lid, gasket, straw, mouthpiece, and threads because odor often hides in those parts. If soap and brushing are not enough, use a material-compatible baking-soda or diluted-vinegar treatment separately, rinse thoroughly, and let every component dry completely.
Can I put my bottle in the dishwasher?
Put a bottle in the dishwasher only if its care instructions say the bottle and relevant parts are dishwasher-safe. Heat limits differ between plastics, insulated bottles, coatings, lids, seals, and straws, so a general top-rack rule does not apply to every bottle.
What should I do if I find mold in my bottle or lid?
Stop using the bottle until every affected part can be cleaned completely. Disassemble removable components, scrub all reachable surfaces with an approved method, and replace damaged or inaccessible parts if you cannot remove the contamination or verify that they are clean.
Conclusion
Good bottle hygiene comes down to a simple routine: disassemble what is meant to come apart, wash with mild soap and the right brushes, rinse with safe water, and let every piece dry completely. Avoid harsh abrasives and improvised chemical mixtures, and always follow the care instructions for your bottle’s material, lid, coating, and dishwasher compatibility.
Sources
- PubMed: Daily Use Water Bottles as a Hub for Microbial Population: Supports the discussion of microbial contamination in reusable bottles and the reduction in microbial load after washing.
- CDC: Cleaning and Disinfecting with Bleach: Supports bleach safety, dilution guidance principles, and the warning not to mix bleach with other cleaners.
- CDC: Collecting Rainwater and Your Health: Supports the warning that untreated rainwater can contain germs and chemicals and should not automatically be used on food- or drink-contact items.