When it comes to storing breast milk, using the right bags can make a world of difference. I remember the first time I tackled this task; the options felt overwhelming. But trust me, once you know what to look for, it becomes a breeze. From choosing BPA-free bags to ensuring they’re sealed tight, every step counts. Let’s break it down, so you can feel confident and organized in your milk storage journey.
Choosing the Right Milk Storage Bags
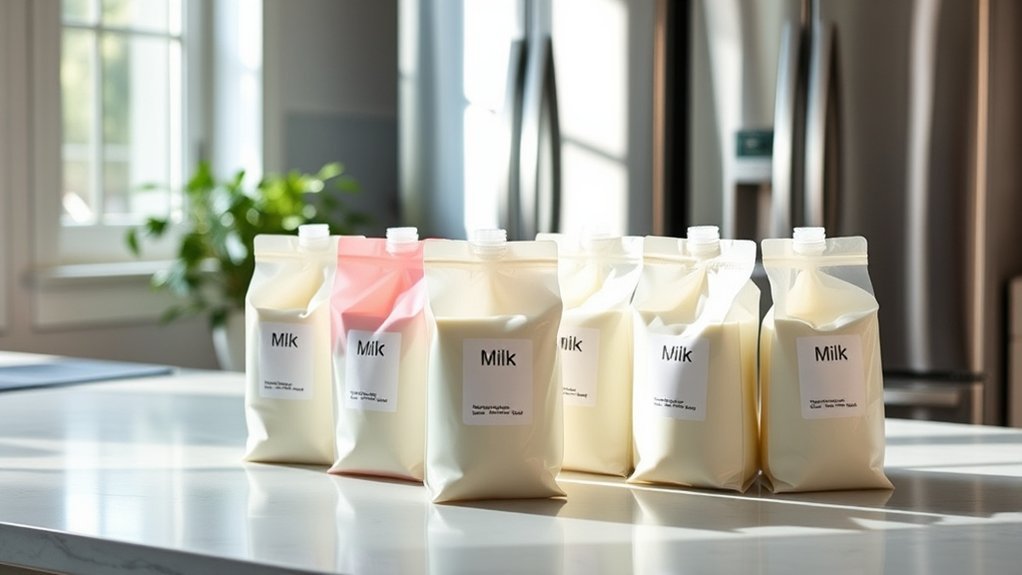
When you’re selecting milk storage bags, it’s essential to take into account a few key factors to guarantee you make the best choice for your needs.
First, consider the material; BPA-free plastic is a must for safety. I remember the first time I used bags that weren’t BPA-free—it was a total no-go!
When choosing milk storage bags, always prioritize BPA-free plastic for safety—trust me, it’s a game changer!
Next, think about the size. If you plan to store larger quantities, opt for bigger bags.
Also, look for bags with double zippers; they help prevent leaks, which I learned the hard way after a messy fridge incident!
Finally, check for features like a write-on label for dating your milk. Trust me, your future self will thank you when you’re not guessing how old the milk is!
Preparing to Fill Your Milk Storage Bags
Before you plunge into filling your milk storage bags, it’s crucial to prep properly to avoid any mishaps down the line.
First, make sure you’ve got a clean, designated workspace. I found that setting up on the kitchen counter works best—just clear away any clutter.
Next, gather your supplies: freshly pumped milk, storage bags, and a marker for labeling. Trust me, labeling is a lifesaver! You don’t want to mix up different batches.
Also, consider having a small bowl or tray to keep the bags upright while you fill them; it makes the process so much easier.
Finally, wash your hands thoroughly—this is key to ensuring your milk stays fresh and safe.
Happy prepping!
Properly Filling and Sealing the Bags
Now that you’ve got your workspace ready and supplies gathered, it’s time to fill those milk storage bags like a pro.
Start by holding the bag upright and opening it wide—this can be a bit tricky, but you’ll get the hang of it! Pour in the milk, leaving about an inch of space at the top. This extra space helps prevent leaks when you seal the bag.
Once filled, press out any excess air before sealing. I always double-check the seal by gently squeezing the bag; you don’t want any surprises later!
Label each bag with the date and amount before storing. Trust me, a little organization goes a long way when you’re in the thick of it!
Best Practices for Storing Breast Milk
To guarantee your breast milk stays fresh and safe for your little one, it’s essential to follow some best practices for storage.
Trust me, I learned the hard way! Here are three tips to help you out:
- Label each bag with the date and time you pumped. This way, you’ll always know which milk to use first.
- Store in small amounts—about 2-4 ounces—so you can thaw just what you need without wasting any precious milk.
- Keep it cool! Use the back of the fridge for storage, as it’s the coldest spot, and avoid placing it in the door where temperatures fluctuate.
Thawing and Using Stored Breast Milk
When you’re ready to use your stored breast milk, it’s essential to thaw it properly to maintain its quality and safety.
I’ve found the best method is to place the bag in the fridge overnight or run it under cool water. Avoid using a microwave, as it can create hot spots and destroy nutrients.
Once thawed, give it a gentle swirl—don’t shake it—this helps preserve the proteins. I usually use thawed milk within 24 hours, but always check for any off smells or changes in texture.
And don’t refreeze, as that can compromise the milk’s quality. It’s a simple process, and knowing you’re providing the best for your little one feels amazing!
Frequently Asked Questions
Can I Reuse Milk Storage Bags After Washing Them?
You can reuse milk storage bags after washing, but make sure they’re thoroughly cleaned and dried. I’ve found that using hot, soapy water helps. Just keep an eye out for any wear or damage!
How Long Can Milk Be Stored in the Freezer?
Freezing milk’s fantastic! You can store it for up to six months. Just remember to leave some space in the bag for expansion. I’ve done it, and it’s a lifesaver for busy days!
Are There Specific Brands Recommended for Milk Storage Bags?
You’ll love brands like Lansinoh and Medela for milk storage bags. They’re durable, leak-proof, and easy to use. I’ve found them super reliable for keeping milk fresh, so you can confidently stock up!
Can I Store Other Liquids in Milk Storage Bags?
You can definitely store other liquids in milk storage bags! I’ve used them for soups and sauces, too. Just make sure to seal them tightly to avoid leaks—trust me, it’s a messy situation you want to avoid!
What Is the Best Way to Label Milk Storage Bags?
You can label milk storage bags by using a permanent marker or adhesive labels. Include the date and contents. I’ve found it’s super helpful for tracking freshness and avoiding confusion when you’re in a rush!
Conclusion
In the end, you’re not just storing milk; you’re preserving precious moments for your little one. By following these steps, you can guarantee your breast milk stays fresh and safe, making feeding time that much easier. Remember, a little preparation goes a long way. So, grab those bags, label them with love, and tuck them away in the fridge. You’ve got this, and your baby will thank you for it when it’s time to feed!