Just like a gardener tends to their plants, proper incision care is crucial for your recovery. It may seem straightforward, but there are essential steps you need to follow to guarantee everything heals well. From gathering supplies to monitoring for signs of infection, each part plays a critical role in your healing journey. Let’s explore how you can effectively manage your incision care for the best possible outcome.
Understanding the Importance of Incision Care
Incision care is essential for your recovery and overall health. Taking the time to properly care for your incisions can prevent complications like infections, which can delay your healing process.
When you keep your incision clean and dry, you support your body’s natural healing mechanisms. This not only helps reduce pain but also minimizes the risk of scarring. You’ll feel empowered as you take charge of your recovery.
Understanding the signs of infection, such as increased redness or swelling, allows you to act quickly and seek help if needed. By prioritizing incision care, you’re setting the stage for a smoother recovery journey. Recent research from the NIH highlights the importance of preventing infections in post-surgery care to enhance patient outcomes.
Gathering Your Incision Care Supplies
To care for your incision properly, you’ll need to gather some essential supplies.
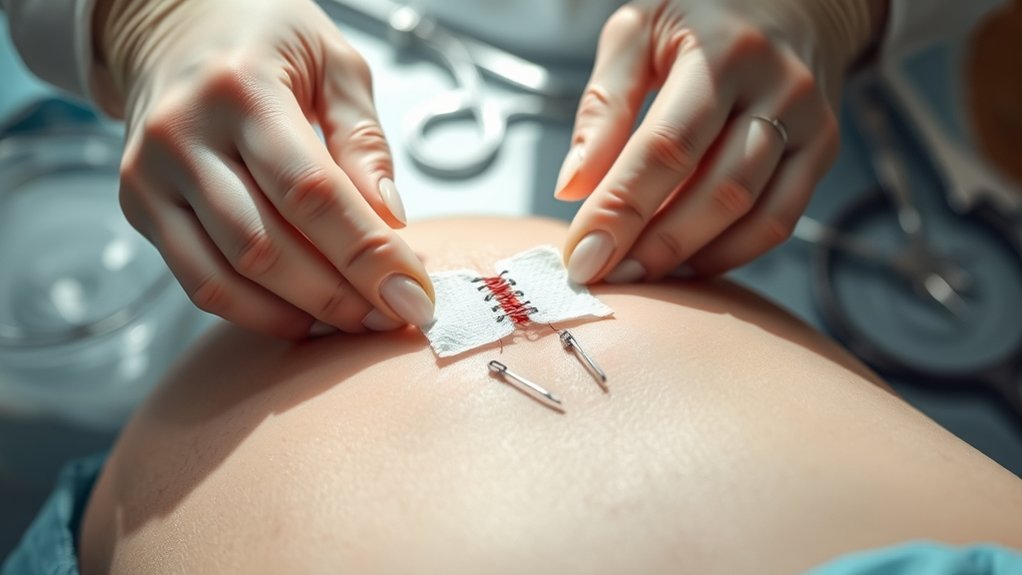
Make sure you have items like sterile bandages, antiseptic wipes, and scissors on hand.
It’s also important to follow safety precautions to keep your healing process on track.
Essential Care Items
Gathering the right supplies is essential for effective incision care.
Having everything you need on hand not only simplifies the process but also empowers you to take charge of your healing.
Here are three key items to gather:
- Sterile Dressings: Use these to protect your incision from dirt and bacteria.
- Antiseptic Solution: This helps clean the area and reduce the risk of infection.
- Medical Tape: Secure your dressings in place to guarantee they stay put.
Safety Precautions Needed
When you’re ready to assemble your incision care supplies, it’s crucial to prioritize safety to guarantee a smooth healing process. Here’s a quick guide to help you gather everything you need while maintaining a sterile environment:
| Item | Purpose | Safety Tips |
|---|---|---|
| Sterile gloves | Protects you and the wound | Always wear when touching area |
| Antiseptic wipes | Cleans incision site | Use fresh wipes only |
| Bandages | Covers the incision | Change regularly and check seal |
| Scissors | Trims bandages | Keep clean, store safely |
| Adhesive tape | Secures dressings | Confirm it’s hypoallergenic |
Following these precautions helps reduce infection risk and promotes healing, so make certain to double-check your supplies before you start.
Cleaning the Incision Site Properly
To clean your incision site properly, you’ll need to gather the necessary supplies first.
Use a mild solution to gently cleanse the area, ensuring you remove any dirt or debris.
After cleaning, apply a sterile dressing to protect the incision as it heals.
Gather Necessary Supplies
Before you start cleaning the incision site, it’s essential to have all necessary supplies on hand. Having everything ready will streamline the process and guarantee you can focus on proper care.
Here’s what you’ll need:
- Sterile saline solution – to cleanse the area gently.
- Clean gauze pads – for drying and covering the incision.
- Medical tape or adhesive strips – to secure the gauze in place.
As you gather these items, make certain they’re within arm’s reach. This preparation not only enhances your confidence but also promotes healing by minimizing the risk of infection.
With your supplies ready, you’ll be well-equipped to care for your incision effectively and liberate yourself from worry.
Clean With Mild Solution
Cleaning the incision site properly is essential for preventing infection and promoting healing.
Start by gathering a mild saline solution or a gentle soap diluted with water. Use clean hands or wear disposable gloves to avoid contamination.
Dampen a clean gauze pad or cloth with the solution and gently wipe around the incision, moving from the center outward. Be careful not to scrub or apply too much pressure, as this can irritate the skin.
Rinse the area with sterile water if needed, ensuring no soap residue remains. Pat the site dry with a sterile cloth or gauze.
This simple yet effective cleaning process helps maintain a clean environment for your incision, supporting your body’s natural healing abilities.
Apply Sterile Dressing
Applying a sterile dressing is essential for protecting your incision and promoting ideal healing. This process helps prevent infection and keeps the area clean.
Here’s how to do it effectively:
- Prepare your materials: Gather your sterile dressing, adhesive tape, and scissors. Verify everything is clean and within reach.
- Apply the dressing: Gently place the sterile dressing over the incision, ensuring it fully covers the area. Avoid touching the side that will contact your skin.
- Secure the dressing: Use adhesive tape to hold the dressing in place, ensuring it’s snug but not too tight.
Applying Dressings and Bandages
Once you’ve prepared the incision site, it’s essential to apply dressings and bandages correctly to protect the wound and promote healing.
Start by choosing a sterile dressing that fits the size of the incision. Place the dressing gently over the wound, ensuring it fully covers the area without applying too much pressure.
Choose a sterile dressing that fits properly, covering the wound without excessive pressure for optimal healing.
Secure the dressing in place with adhesive tape or a bandage, making sure it’s snug but not restrictive. Check for any wrinkles or gaps that might expose the wound.
If you’re using gauze, change it regularly according to your healthcare provider’s recommendations.
Finally, remember to wash your hands before and after handling dressings to maintain cleanliness and prevent contamination. Your care is key to your recovery!
Monitoring for Signs of Infection
While you focus on healing, it’s vital to monitor your incision site for signs of infection. Early detection can make all the difference in your recovery.
Look out for these key indicators:
- Increased redness around the incision that spreads beyond the edges.
- Swelling or warmth at the site, indicating inflammation.
- Discharge that’s cloudy, yellow, or foul-smelling, which can signify an infection.
If you notice any of these symptoms, don’t hesitate to contact your healthcare provider. They can assess the situation and provide guidance on what to do next.
Managing Pain and Discomfort
After monitoring your incision for signs of infection, the next step in your recovery involves managing pain and discomfort effectively.
Start by using over-the-counter pain relievers as directed, which can help reduce inflammation and ease your discomfort. Alternate heat and cold packs on the area to soothe pain and promote healing.
It’s essential to rest and elevate the affected area, allowing your body to focus on recovery. If you notice any sudden increase in pain or if it becomes unbearable, reassess your pain management strategy.
When to Contact Your Healthcare Provider
Wondering when it’s time to reach out to your healthcare provider? Here are three key signs that shouldn’t be ignored:
- Increased redness or swelling: If you notice the area around your incision becoming more inflamed, it could be a sign of infection.
- Excessive bleeding or drainage: A small amount of drainage is normal, but if you see significant bleeding or foul-smelling discharge, it’s time to call.
- Fever or chills: A fever above 100.4°F (38°C) may indicate an infection, especially if accompanied by chills.
Additionally, it’s crucial to be aware that complications can arise during the postpartum period, including preeclampsia and related disorders. Don’t hesitate to contact your healthcare provider if you’re concerned.
It’s always better to be safe and guarantee your recovery goes smoothly. Your wellbeing is a priority.
Frequently Asked Questions
Can I Shower With My Incision Before It Heals?
You can shower with your incision, but keep it protected. Use a waterproof cover and avoid direct water pressure. Gently pat it dry afterward, ensuring not to disturb the healing process. Stay mindful of your body’s signals.
How Long Should I Keep the Incision Covered?
You should keep the incision covered for at least the first few days, or until your doctor advises otherwise. This helps protect it from infection and promotes healing, so don’t rush the process.
Is It Normal for the Incision to Itch?
Yes, it’s normal for your incision to itch as it heals. Itching indicates that your body’s healing process is active, but if it becomes severe or you notice any unusual symptoms, contact your healthcare provider.
Can I Apply Ointment to My Incision?
You can apply ointment to your incision, but wait until it’s healed enough, typically 1-2 weeks post-surgery. Surprisingly, about 75% of patients find this eases discomfort and speeds up healing. Always consult your doctor first!
What Activities Should I Avoid During Recovery?
During recovery, avoid heavy lifting, vigorous exercise, and any activity that strains your incision. Stay away from swimming or soaking in water until your doctor gives the green light. Listen to your body and rest when needed.
Conclusion
Just as a gardener tends to delicate seedlings, nurturing your incision with care is essential for a robust recovery. By following the steps outlined, you protect your healing journey from weeds of infection and discomfort. Remember, monitoring your progress and reaching out to your healthcare provider are like watering and feeding your plants; they guarantee growth and strength. Embrace this process, and watch your body bloom back to health, ready to thrive once again.