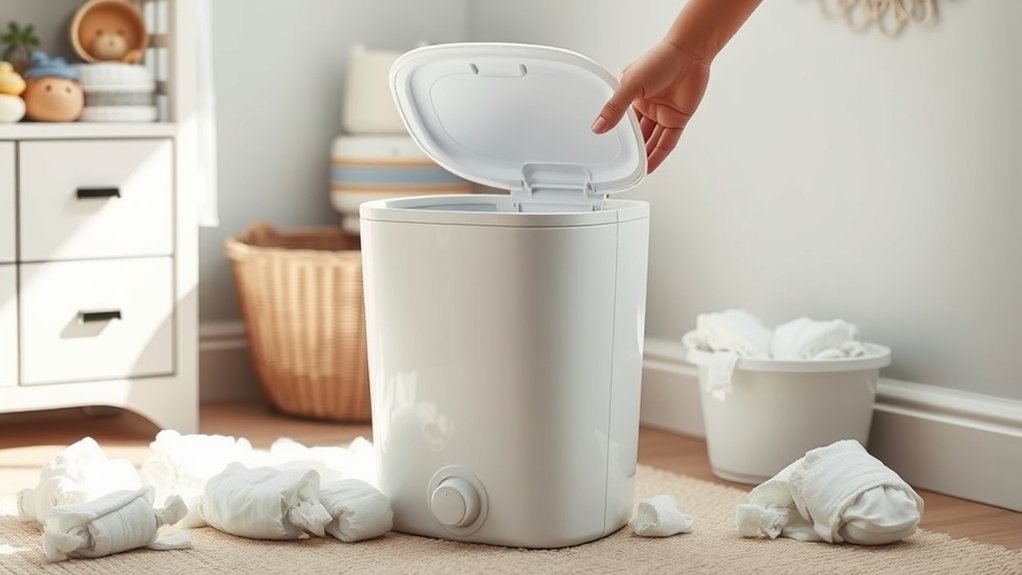
Using a diaper pail can be a lifesaver, but it can also become a nightmare if you aren’t careful. You’ll want to manage odors effectively while keeping your home fresh and clean. Knowing the do’s and don’ts is key to making your experience smoother and more pleasant. So, how do you guarantee your diaper pail works for you, not against you? The answer lies in a few simple strategies that can make all the difference.
Choosing the Right Diaper Pail
When you’re selecting a diaper pail, it’s essential to take into account a few key factors to guarantee you choose the best option for your needs.
Start by exploring different diaper pail types, like the classic, self-sealing, or even hands-free models. Each has its perks, so think about what suits your lifestyle best.
Next, don’t overlook budget considerations; you can find quality options at various price points. Investing in a pail that effectively manages odors and simplifies disposal can save you time and stress.
Consider your budget carefully; a quality diaper pail can simplify disposal and manage odors, making life easier.
Remember, a well-chosen diaper pail not only enhances your daily routine but also contributes to a more pleasant environment for your family.
Empower yourself by making an informed choice that aligns with your values and needs.
Proper Disposal Techniques
While you may think all diaper disposal methods are the same, using proper techniques can greatly impact odor control and hygiene.
Start by sealing each diaper tightly in a disposable bag to contain odors and bacteria. Avoid overfilling your pail; it’s crucial for effective waste management.
When the pail is full, dispose of the bags promptly to prevent lingering smells and messes. If you’re using a compostable option, verify it’s suitable for your disposal system.
Regularly check for any leaks or cracks in your pail that could lead to cross-contamination.
Proper diaper disposal isn’t just about convenience; it’s about creating a healthier environment for you and your baby, allowing you to enjoy parenthood with peace of mind.
Maintenance and Cleaning Tips
To keep your diaper pail functioning effectively and odor-free, regular maintenance is crucial. Aim to clean your pail weekly, adjusting the cleaning frequency based on usage. If you notice any build-up, don’t hesitate to clean it more often.
Choose suitable cleaning products that align with your pail materials—plastic, metal, or composite. A mixture of warm water and mild soap works wonders, but avoid harsh chemicals that might damage the surface.
After cleaning, verify it’s completely dry before reassembling, as moisture can lead to odors. Regularly inspect seals and liners for wear, replacing them as needed to maintain efficiency.
Managing Odors Effectively
Managing odors in your diaper pail is essential for maintaining a pleasant home environment, especially in those early parenting days.
To combat unpleasant smells, consider using odor neutralizers like baking soda or activated charcoal, which can absorb unwanted scents effectively. Choose a pail with robust sealing mechanisms; these traps odors inside, preventing them from escaping into your living space.
Remember to change the pail liner regularly, as even the best neutralizers can’t mask the smell of old diapers indefinitely. Additionally, placing the pail in a well-ventilated area can help minimize odors.
Knowing When to Empty the Pail
Even with effective odor management, knowing when to empty your diaper pail is key to keeping your home fresh and clean.
Pay attention to frequency indicators, like how often you’re changing diapers and the pail’s capacity. If you notice a lingering smell or the pail feels full, it’s time to empty it.
Establishing an emptying schedule can also help; consider doing it every two to three days or sooner, depending on your usage.
Regularly emptying the pail not only keeps odors at bay but also prevents buildup that can lead to messier clean-ups.
Trust your instincts—if it feels overdue, don’t hesitate. Embrace this small task to maintain a harmonious, fresh environment for you and your little one.
Frequently Asked Questions
Can I Use Regular Trash Bags in My Diaper Pail?
You can use regular trash bags in your diaper pail, but they might not fit perfectly. Choosing a strong, odor-resistant bag guarantees your pail works efficiently, keeping unpleasant smells contained while you manage diaper duties.
How Often Should I Replace the Pail Itself?
You should replace the pail every 6-12 months. Consider pail maintenance tips and lifespan factors like usage and wear. Just like a trusty steed, your pail needs care to keep riding smoothly through diaper duties.
Are Scented Liners Effective in Reducing Odors?
Scented liners can be effective for odor control, helping mask unpleasant smells. However, they’re not a complete solution. Regularly emptying the pail and maintaining cleanliness is essential for ensuring a fresher environment overall.
Can I Store the Diaper Pail Outdoors?
Sure, you can store the diaper pail outdoors, but it’s not exactly a spa retreat for your stinky treasures. Make sure it’s weather-resistant; otherwise, you might create a whole new level of odor.
What Are the Best Alternatives to Diaper Pails?
Cloth diapers and composting options offer great alternatives to diaper pails. You’ll reduce waste and embrace eco-friendliness while keeping your nursery fresh. Explore these choices to liberate yourself from traditional diaper disposal methods.
Conclusion
To sum up, managing a diaper pail doesn’t have to be a hassle. You might worry that it’ll take too much time, but with the right techniques and regular maintenance, you’ll find it’s a breeze. By sealing each diaper, avoiding overfilling, and keeping up with cleaning, you can greatly reduce odors and mess. Remember, these simple steps not only keep your home fresh but also make your parenting journey a bit easier. You’ve got this!
