Babyproofing your home might feel like preparing for a major renovation, but it’s essential for keeping your little one safe. You’ll need to identify hazards and gather the right tools to tackle each area effectively. From securing furniture to installing safety gates, each step plays a vital role. Let’s explore the essential tools you’ll need and how to use them to create a secure environment for your child.
Assessing Your Home for Hazards
When you start babyproofing your home, it’s vital to assess potential hazards in each room.
Begin with the living areas; look for sharp furniture edges, cords, and small objects that could pose choking risks.
Start by examining living spaces for sharp edges, cords, and small items that may pose choking hazards.
In the kitchen, check for dangerous utensils, cleaning supplies, and hot surfaces.
The bathroom requires vigilance too—secure medications, and make certain to cover electrical outlets.
Don’t forget the stairs; install gates if needed.
In bedrooms, verify cribs are free of loose bedding and toys.
By identifying these hazards, you empower yourself to create a safer environment for your little one.
Essential Babyproofing Tools
To keep your little one safe, having the right babyproofing tools is essential.
Two key items you’ll need are safety gates to block off dangerous areas and outlet covers to prevent electrical accidents.
Let’s explore the types of safety gates and outlet covers that can best protect your home.
Safety Gates Overview
While keeping your little one safe, safety gates stand out as essential tools in babyproofing your home.
These gates help you control your child’s movement, preventing access to hazardous areas like stairs or rooms with sharp objects. Choosing the right gate can make a significant difference in your peace of mind.
Consider these key features when selecting a safety gate:
- Material: Look for durable options like metal or high-quality plastic that can withstand wear.
- Height: Make certain it’s tall enough to deter climbing, typically at least 30 inches.
- Installation: Opt for gates that can be easily installed and removed, accommodating doorways or staircases.
With the right safety gate, you’re one step closer to a secure environment for your child.
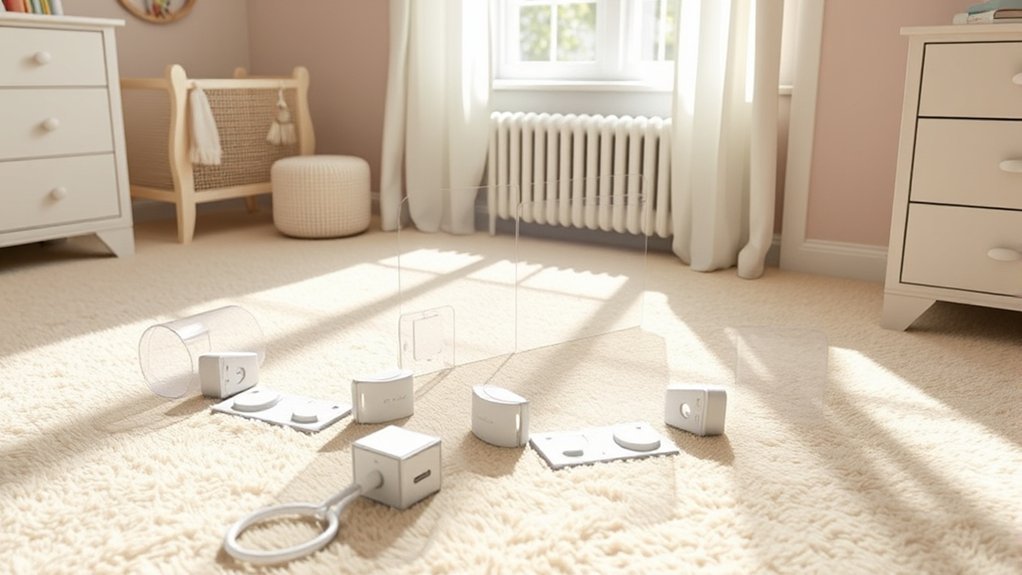
Outlet Covers Types
After guaranteeing your home is equipped with safety gates, it’s time to tackle another critical aspect of babyproofing: outlet covers. You’ll find several types designed to keep your little one safe from electrical hazards.
First, consider plastic outlet covers, which simply plug into the outlets, blocking access entirely.
Then there are spring-loaded covers, which automatically close when not in use, providing added convenience.
Another option is sliding outlet covers, allowing you to easily access the outlet while keeping it secured when not in use.
Finally, decorative outlet covers offer a stylish touch while still keeping your child safe.
Choose the type that fits your needs best, and guarantee every outlet is protected for your peace of mind.
Installing Safety Gates
When it comes to installing safety gates, choosing the right gate for your space is essential.
You’ll need specific tools for installation, so make sure you have everything on hand before you start.
Additionally, proper placement of the gate can make all the difference in keeping your little one safe.
Choosing the Right Gate
How do you choose the right safety gate to protect your little one?
It’s essential to find a gate that fits your needs and your home’s layout. Here are three key factors to take into account:
- Height and Width: Make sure the gate is tall enough to deter climbing and fits the space without gaps.
- Material: Opt for sturdy materials like metal or hardwood that can withstand daily use.
- Type of Gate: Decide between pressure-mounted or hardware-mounted gates based on your walls and where you’ll use it.
Installation Tools Needed
Installing a safety gate requires just a few essential tools to guarantee a secure fit.
First, grab a measuring tape to determine the exact width of the opening. You’ll need a level to verify the gate is perfectly straight—an important step for safety.
A power drill makes the installation easier, but a screwdriver works too if you prefer manual tools. Don’t forget screws, anchors, and possibly wall cups, depending on your gate type.
If you’re mounting the gate to a wall, a stud finder can help you locate the strongest points for installation.
With these tools in hand, you’re ready to secure your space and keep your little one safe. Happy installing!
Safety Gate Placement Tips
To guarantee maximum safety, it’s essential to place your safety gates in the right spots throughout your home. Proper placement not only keeps your little one safe but also gives you peace of mind.
Here are some key tips for effective safety gate placement:
- At the top and bottom of stairs: Prevent falls by securing gates at both ends of staircases.
- Doorways and hallways: Use gates to block off areas where you don’t want your child wandering, like kitchens or living rooms.
- Play areas: Create a safe zone by enclosing play areas with gates, allowing your child to explore freely.
Securing Furniture and Appliances
As your little one starts exploring, securing furniture and appliances becomes essential to confirm their safety.
Begin by anchoring heavy furniture like bookshelves and dressers to the wall using anti-tip straps. This simple action prevents tipping accidents during playtime.
Next, assess your appliances; verify they’re stable and out of reach. For free-standing units, consider using appliance straps to secure them.
Remove any small items or sharp objects from surfaces that are within reach. It’s also wise to check for loose cords or cables that could pose a tripping hazard.
Childproofing Electrical Outlets
With furniture and appliances secured, it’s time to focus on another critical safety measure: childproofing electrical outlets.
You want to guarantee your little one stays safe from potential electrical hazards. Here are some effective methods to take into account:
- Outlet Covers: Use plastic or sliding covers to prevent little fingers from accessing the outlets.
- Tamper-Resistant Outlets: Replace standard outlets with tamper-resistant ones, which block foreign objects from being inserted.
- Furniture Placement: Position furniture in front of outlets to restrict access, guaranteeing it’s stable and won’t tip over.
Keeping Small Items Out of Reach
One of the easiest ways to guarantee your child’s safety is by keeping small items out of reach. Start by identifying potential hazards around your home. Regularly check surfaces, drawers, and cabinets to verify nothing is accessible. Here’s a quick guide to help you prioritize:
| Item Type | Storage Solution | Recommended Height |
|---|---|---|
| Choking Hazards | High shelves or locked drawers | Above eye level |
| Small Toys | Toy bins or closets | Childproof containers |
| Coins and Buttons | Secure storage boxes | Out of toddler reach |
| Medications | Locked cabinets | High above countertops |
Creating a Safe Play Area
Creating a safe play area is essential for your child’s development and well-being. It’s where they’ll explore, learn, and grow, so making it secure is key.
Here’s how you can do it effectively:
- Choose a clean, spacious area: Make certain it’s free from hazards and has enough room for movement.
- Use soft flooring: Consider foam mats or carpets to cushion falls and provide comfort.
- Secure toys: Confirm toys are age-appropriate and free from small parts that could pose choking hazards.
Frequently Asked Questions
At What Age Should I Start Babyproofing My Home?
You should start babyproofing your home as soon as your baby begins to crawl, usually around six to ten months. This proactive approach helps create a safe environment for your little explorer’s newfound mobility.
How Often Should I Reassess My Babyproofing Measures?
You should reassess your babyproofing measures every few months or whenever your child hits new developmental milestones. Think of it as tuning a musical instrument; regular adjustments keep your home in harmony with your child’s growth.
Are There Any Babyproofing Tools Not Recommended by Safety Experts?
Yes, some tools like decorative outlet covers or flimsy cabinet locks aren’t recommended. They can give a false sense of security. Focus on sturdy, reliable products that genuinely keep your child safe from hazards.
Can I Babyproof a Home With Pets Effectively?
Yes, you can effectively babyproof a home with pets. Create designated areas for both, use gates to separate spaces, secure hazardous items, and supervise interactions to guarantee safety for your child and furry friends.
What Is the Cost Range for Babyproofing My Home?
You can expect to spend anywhere from $100 to $1,000 on babyproofing your home, depending on the extent of safety measures needed. Prioritize high-risk areas to maximize safety without breaking the bank.
Conclusion
By taking the time to babyproof your home, you’re not just making it safer; you’re creating a nurturing environment for your little one to explore and grow. As the saying goes, “An ounce of prevention is worth a pound of cure.” So, regularly check for hazards, stay vigilant, and invest in essential tools. With these steps, you can enjoy peace of mind knowing you’ve laid a solid foundation for your child’s safety and well-being.